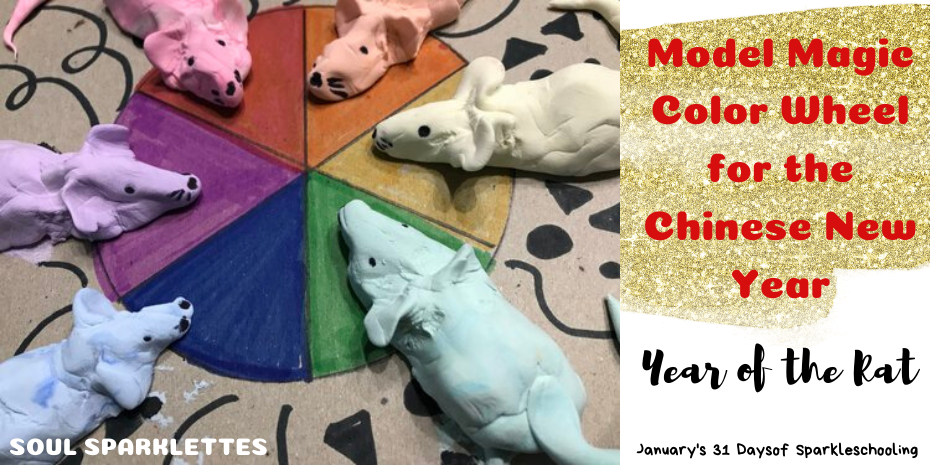
The Color Wheel Gets an Upgrade
A model magic color wheel sounded like a challenge – especially if we started out with white. And could we turn them into rats to celebrate the Lunar New Year?
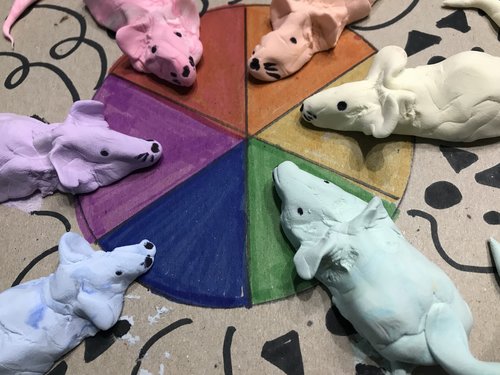

Drawing the Color Wheel
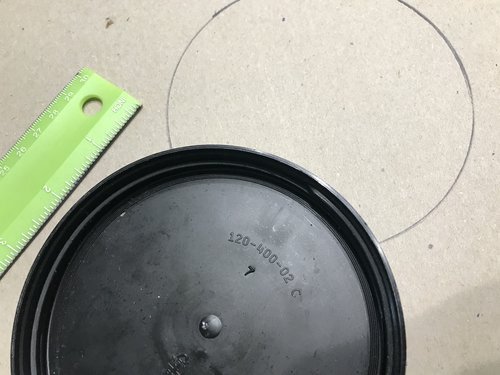
We used a circle tracer to get a circle in the middle of a piece of paper. And then we used a ruler to draw two lines so that we had six wedges.
We outlined each wedge in it’s appropriate color, moving around the wheel from red to purple.
At first we were just going to outline the colors, but Little Sparklette made a mistake, and colored inside a wedge. So before a meltdown could ensue, especially since we were making these on the backs of pads of paper, I colored mine in and we all decided we liked it better that way.
Tip: The back page of pads of paper is often a smooth and amazing piece of cardboard that you can use for clay or model magic projects, or anything that will hold more weight.

Color Mixing 101
Model magic is easier for little hands than regular air-dry clay, but the biggest benefit of using it is that there is virtually no mess. That’s right, no cleaning clay chunks out of your carpet, or finding Play-Doh in places where it shouldn’t be.
It’s cheapest if you buy it in white, though you could easily do this project in a much simpler way by getting the primary colors. This 2 lb bucket of white model magic comes with four packages of white so you don’t have to worry about the rest of it drying up.
My Sparklettes were given a red, yellow, and blue marker and instructed to make six balls of model magic in those colors. By coloring on the model magic and then mixing it by hand, they were able to see the slow transition of color. In fact, for some of balls, both Sparklettes chose to let it stay in a marbled fashion.
It only took Little Sparklette a moment to realize she was going to have to put two colors on a single ball.
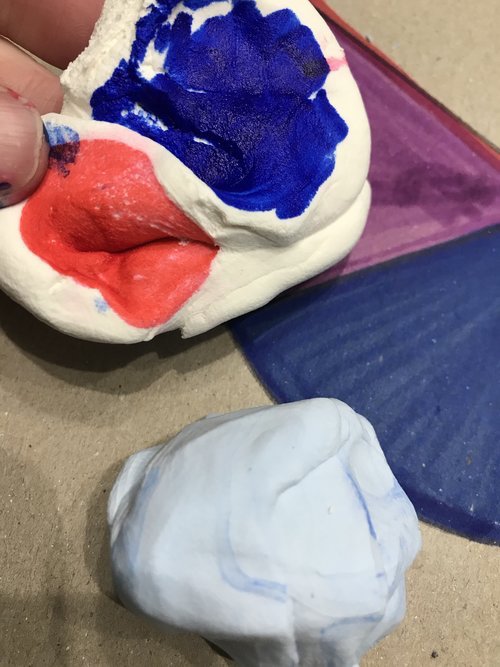
My Sparklettes quickly learned that yellow is not a very strong color. Red and blue quickly overpowered it. Watching them add more yellow and try again was a lesson in color mixing just by itself.

Oh Rats!
Once we had all the colors, it was time to start shaping them into rats.
We broke off a small piece and rolled it in our palms to make a tail. And then made two balls with the rest, one larger than the other. By elongating the nose on the smaller ball and pinching two ears, we had little model magic rats.
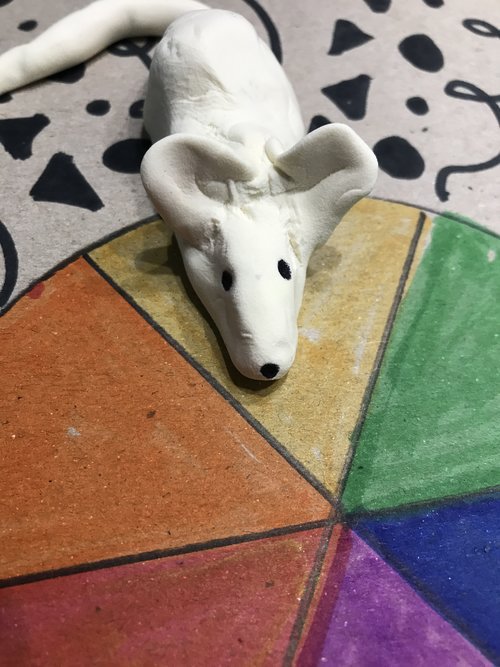
Two Sharpie dotted eyes and a nose and they were perfect. Trying to add whiskers was difficult to do because of the size of the rat and the size of the Sharpie, but that didn’t stop us from trying.
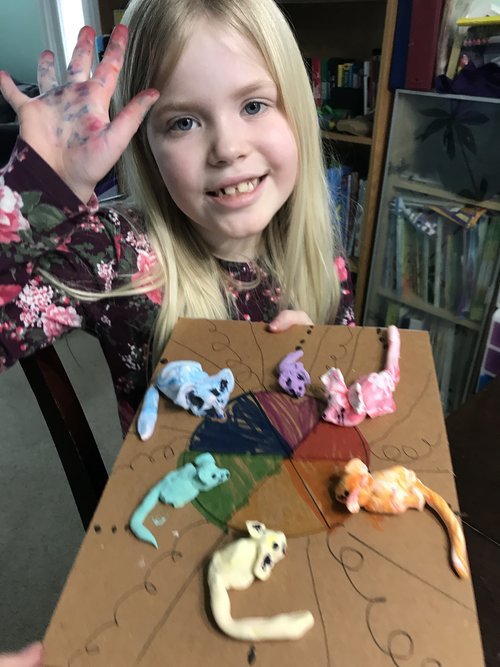
We added a little bit of decorative lines to the back for some contrast, and then the rat color wheel was complete.
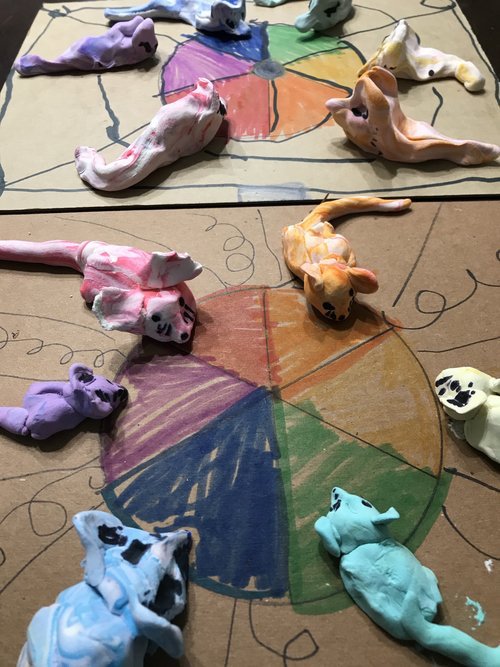
Cutest. Little. Rats. Ever.

Of course, you could turn your balls of model magic into anything your heart desires. Follow your child’s interests, or what you are learning about, and I’m sure you will come up with all sorts of ideas.
I would love to know what you create in the comments below!
