You Don’t Need Loose Glitter
Yes, you read that correctly. You don’t need to bring a single bottle of glitter into your home if you don’t want to. Read on for how to add sparkle to your homeschool art with glitter paper.
But what is glitter paper?
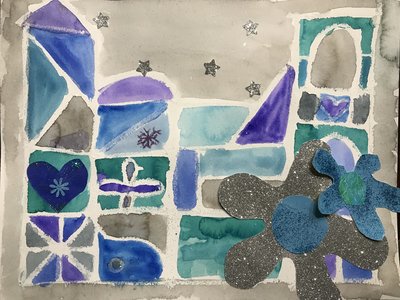
Glitter paper is amazing for collages. Or for cutting out those embellishments. A sparkly flower for that self-portrait’s hair, stars for the night sky, a heart for a Valentine’s Day project. The possibilities are endless.
How NOT to Make Glitter Paper
My first attempt at glitter paper did not end well.
We made painted paper and the paper was still sopping wet with paint, and I wrongly assumed that the wet paint would magically dry with the glitter intact.
This is not what happened.
Instead, when the paper dried, the glitter rained to the floor – and our floor sparkled for months.
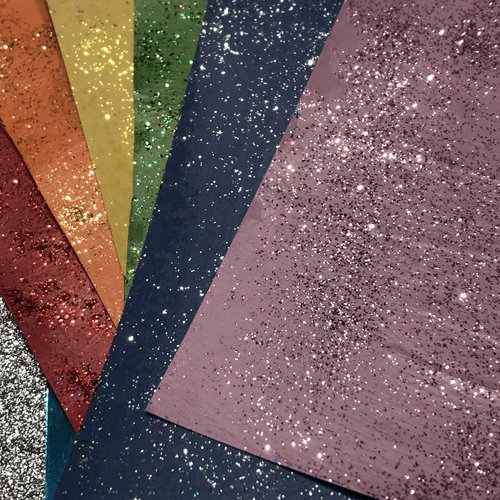
How TO Make Glitter Paper
Enter these little bottles. They’re full of glitter, and their bottles promise magical amounts of glitter across your paper.
Pause! You know when you go to the store for that nail polish that looks like it has holographic glitter chunks? You go home, excited to put it on, only to find out that what’s inside the bottle is a clear solution, and only a few of those holographic glitter chunks land on your nails?
This is how this paint works. But we can use it to our advantage.
With a wide brush, brush the glitter paint over the entire sheet of paper, and then let it dry. That’s it.
Using a piece of sulphite paper is the best, because the paper won’t curl up as much once it’s painted. You can use white, or any color your heart desires. Read about the best paper to use for homeschool art here.
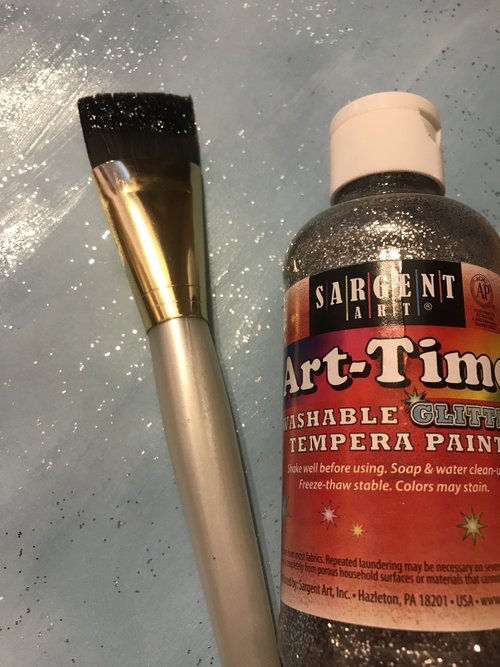
Here’s the results of the Sargent Art-Time Washable Glitter Tempera in Silver. Click here to grab Sargent Art-Time Washable Glitter Tempera in Gold.
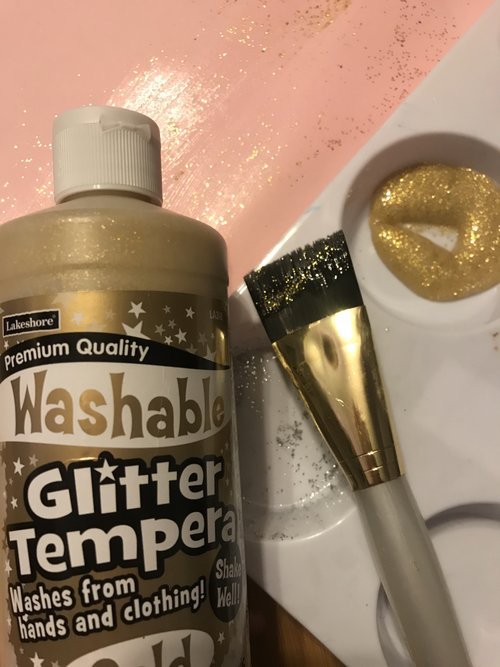
And here is the gold Washable Glitter Tempera Paint from Lakeshore Learning.
One of the added bonuses of making glitter paper with paint, is that you can let your kids do the work, especially those preschoolers. It’s a great way to let them enjoy art time, as well as give you a ton of beautiful and sparkly paper to use down the road.
Glitter and Painted Paper Storage
Cut the glitter paper into quarters, and keep it safe for those embellishments with any painted paper or special paper scraps you’ve found. A large ziplock bag or craft box are perfect.
If you have more room, you can separate them by warm and cool colors.
Kids will love rifling through these bags and boxes for the perfect piece of paper during their next project.
And you might enjoy it too.
We would love it if you’d share!
Don’t forget to tag us at @soulsparklettes on social media if you make this glitter painted paper with your kids or students – we love to see what you create!
You might enjoy:
Join one of our Memberships!
This is an example of the fun we have inside the Glitterbombers Memberships. Chose the level right for your students – Glitterbombers (K-7th) or the new Glitterbombers HIGH (7th-12th). With either choice, you’ll have hundreds more art projects, videos, and resources at your fingertips for whatever you’re studying, or whatever art concept you’re ready to teach. Click here to join our waitlist and find out when we open next!
