I hear you, crayons can sound unimportant in the face of so many other beautiful art supplies. They’re not sloppy paint or squishy clay, and they certainly aren’t watercolors blending and swirling on the page. But what if they were used to create a sleeping rainbow dragon art project? Would that change your mind?
You can do some amazing things with crayons.
One of my favorite is using them for patterns, full of organic, colorful shapes. When you use a black marker to color it in, kids can see a world of possibilities, and so can you.
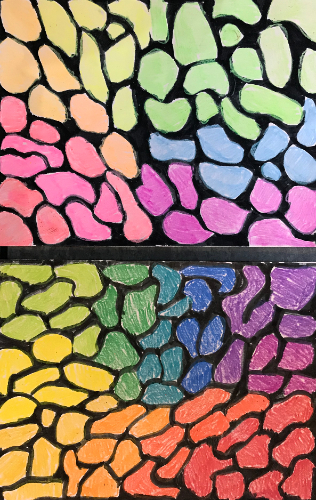
You can use this pattern for castles, mermaid tails, snakes, dinosaurs… and did someone say dragons? This dragon is easy to draw and looks like its hibernating, which is perfect for this time of year.
Step-by-Step Dragon
Drawing the basic shape
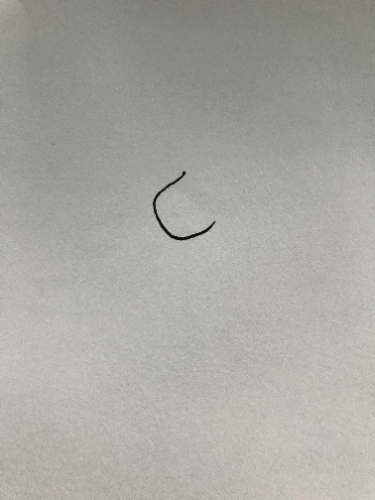
Start by drawing a flattened U in the center of the page with the opening facing the top right corner.
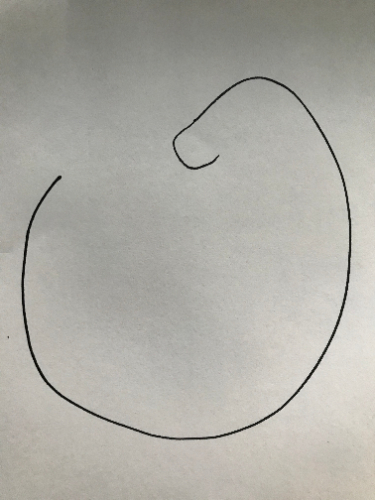
Starting at the top point of the U, continue the line upward to form the top of the head, curve downward for the back, and continue towards the bottom of the paper and back up again to make a giant, rounded U-shape.
Draw a little arrow at the tip of the tail.
Starting at the bottom of the initial U-shape, draw a line that mirrors the curve of the larger U, keeping the lines approximately 2-3 finger widths apart and narrowing as it reaches the arrow tail.
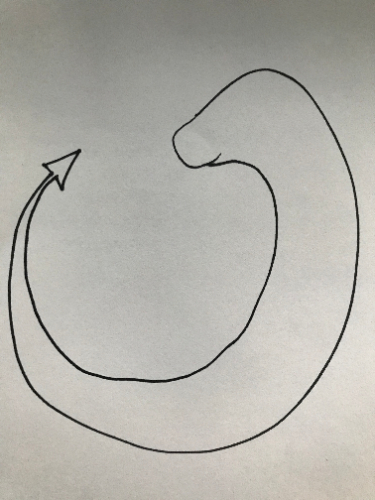
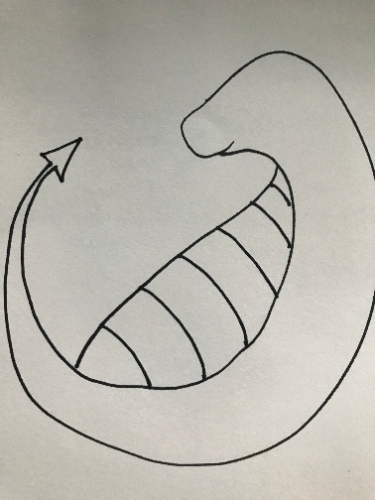
Draw a gentle curving line for the stomach and add horizontal stripes across the stomach.
Adding the extremities
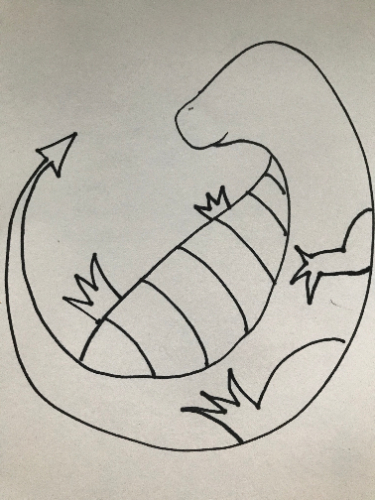
Draw a clawed hand and foot extending from the belly line, one closer to the head for the arm, and one closer to the tail.
For the closer leg, draw a curved line on the inside of the dragon beginning at the back and then draw the clawed foot. Repeat the curved line for the arm, but draw a small forearm or wrist before drawing the clawed hand.
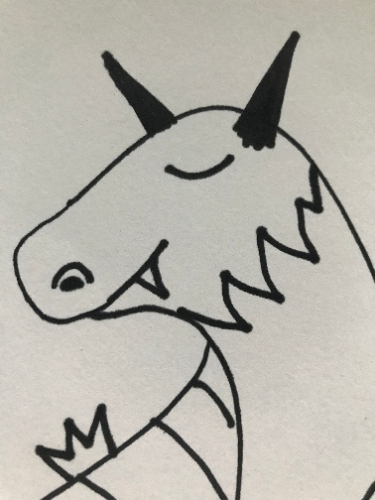
Draw the mouth of the dragon, and choose whether or not to add any teeth. Add two small rainbow lines for the nostrils, coloring in the smaller one. Add horns, and a slight curved smile-line for the eye that shows the dragon is sleeping.
Draw a zigzag line on the neck to separate the head from the neck and body.
Little touches that make a dragon a dragon
Add dragon wings by drawing a line going straight up from the back and then sharply down and off the page. Begin at the back below the first line and draw several rainbow lines in a row for the bottom of the wing. Add lines from the top of the wing to the bottom of the wing. Draw a small sharp up and down line for the back wing.
Add nostril smoke, or students may choose to make something else coming out of the dragon as it sleeps such as ice or electricity.
Draw zigzag lines going down the back of the dragon’s back and towards the tail for the spikes. By coloring these black, students can draw these on top of the wing without fear of the line showing through.
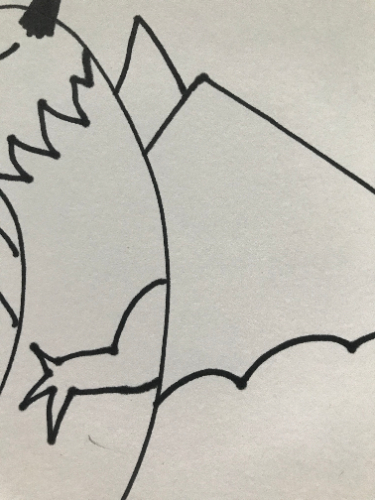
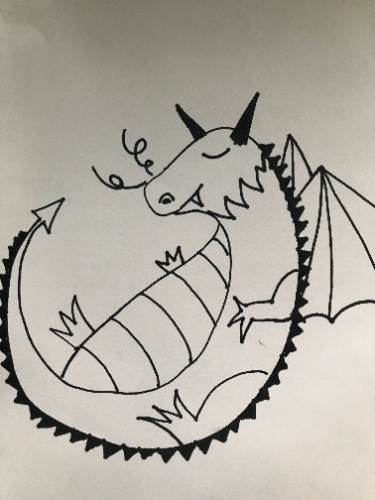
Imagining the Scene
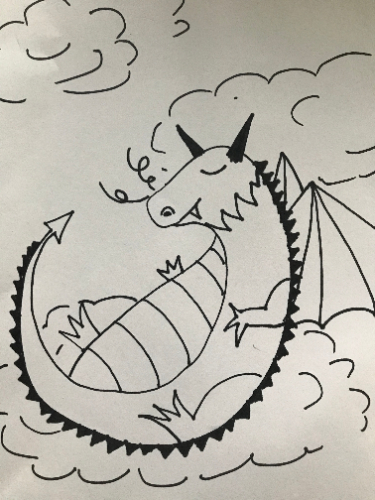
Now it’s time to decorate the scene. Where is the dragon and what is the dragon sleeping on or against?
Here is the dragon with the rainbow dragon scale pattern added on. Note that the arm and the leg may become obscured. Use a crayon to outline both so that they are visible.
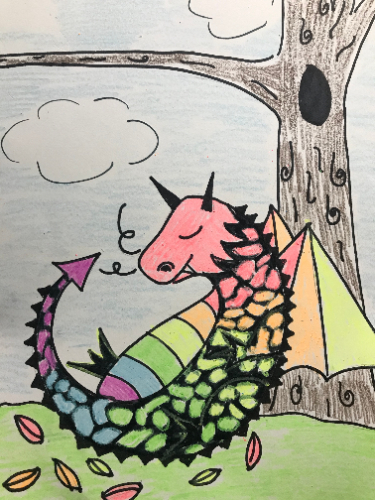
And if you want to know where I found the beautiful crayons used for this project, they’re Crayola Neon 24 pack and found here on Amazon.
Download your FREE step-by-step rainbow pattern guide here and get creating!

We would love it if you’d share!
Don’t forget to tag us at @soulsparklettes on social media if you do a dragon art project with your kids or students – we love to see what you create!
Join one of our Memberships!
This is an example of the fun we have inside the Glitterbombers Memberships. Chose the level right for your students – Glitterbombers (K-7th) or the new Glitterbombers HIGH (7th-12th). With either choice, you’ll have hundreds more art projects, videos, and resources at your fingertips for whatever you’re studying, or whatever art concept you’re ready to teach. Head here to hop on the waitlist and find out when we open next!
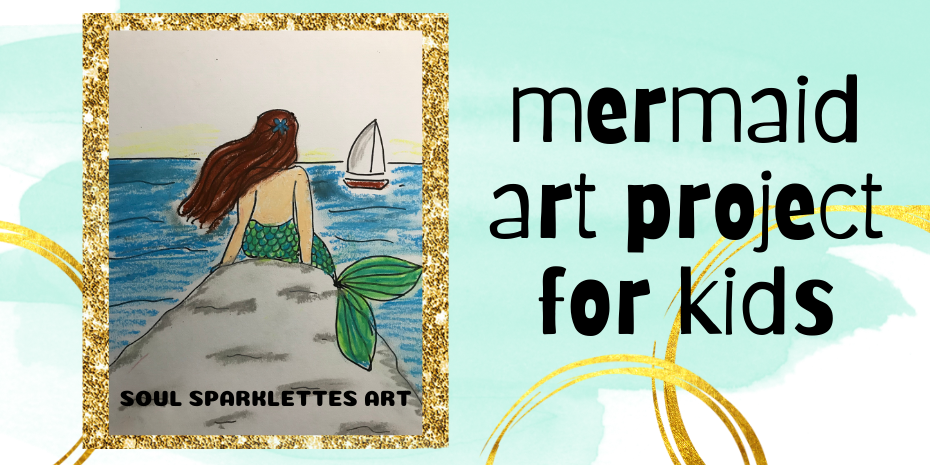
For another art project that you can do with crayons, you’ll love this one.
