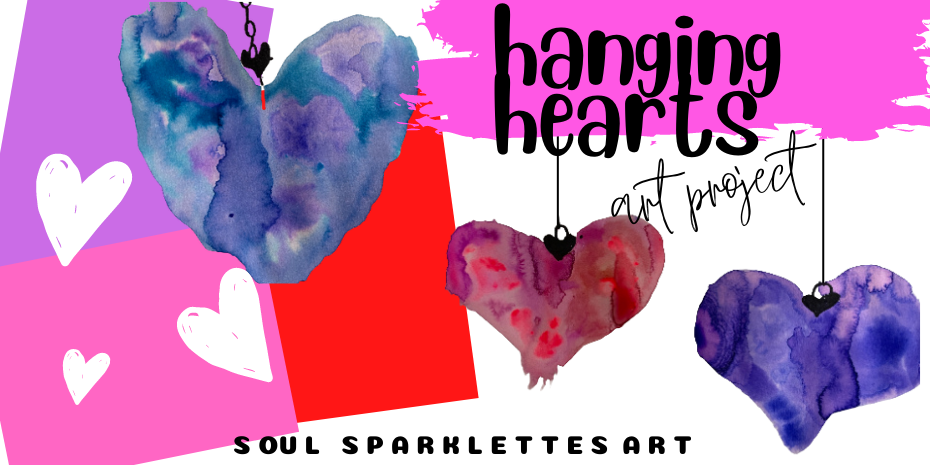
Sometimes there’s a certain technique that is so easy, and so magical, it offers endless opportunities for both process art – and a beautiful, finished product. The wet-on-wet watercolor technique is always a surprise for kids. It was perfect for this Valentine’s Day art project – and creating these hanging heart ornaments.
Once you start, I dare you to make just one!
Your supply list
You only need a few supplies to create these beauties.
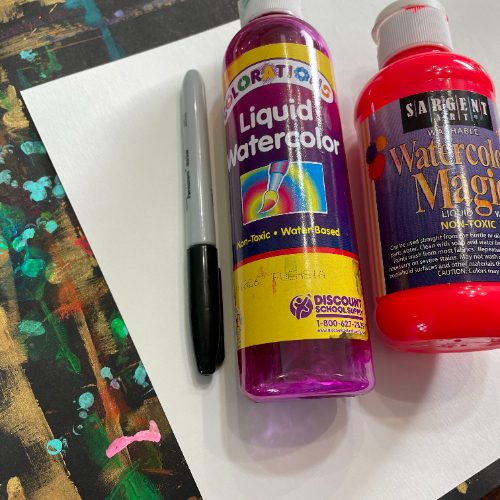
- Watercolor paper OR sulphite paper of 90# or higher
- Watercolors (liquid watercolors are more vibrant, but not necessary)
- Paintbrush
- Cup of water
- Black Sharpie or other permanent markers
- Other markers or crayons to decorate the background (optional)
If you’re wondering what liquid watercolors to use, they aren’t all the same.
Sargent’s neon watercolor magic is a bit thicker, so it has a different consistency and doesn’t spread out with this technique as well. If you drop a few spots of this neon, it can definitely add to the beauty, and it will glow under a blacklight.
Colorations is thinner and works perfectly for this technique so it remains my favorite. You can pick up a set on Amazon here (afflink).
Spacing the hearts
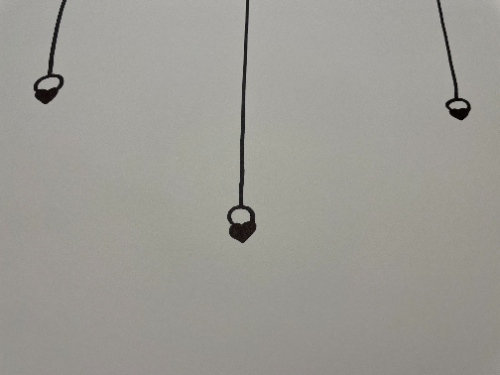
For younger kids, it’s better to make one large heart – or two, with one on each side of the paper. For older kids, they can determine their spacing by using their hand and making sure to draw the next line over. Draw a line from the top of the paper and draw a circle at the end. Use the circle or draw a small black heart for the top.
Make sure to use a Sharpie or permanent marker to avoid the water turning the marker into watercolors.
Put the Sharpie away and paint a heart with water below the first ring only.
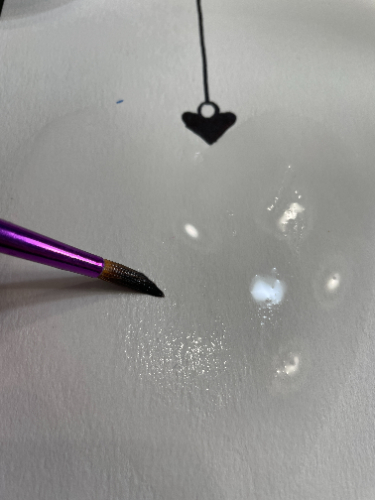
Load the paintbrush with watercolors and touch the water with the brush. Watch what happens. Make sure to avoid painting the area, but instead touch it gently.
Note: If the paint does not begin to move, put more water in the heart area.
Add a second color, making sure that the color is analogous (next to it on the color wheel). A third can be added so long as it is analogous to one of the other two.
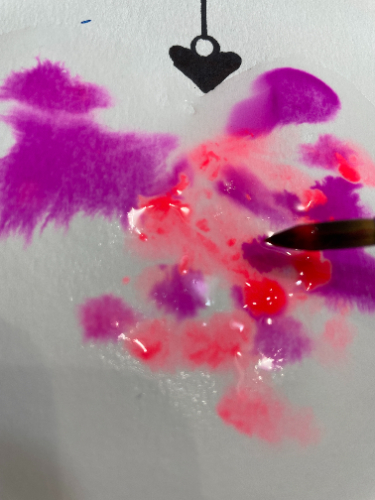
Continue to drop color in until the heart is finished.
To do additional hearts, repeat this process. Set aside to dry fully.
If you have glitter gel pens or metallic markers, this is a great time to get them out and decorate the background! But don’t attempt this step until the painting is dry or the water and paint may escape the heart shape and there will be sad kids – and a sad you.
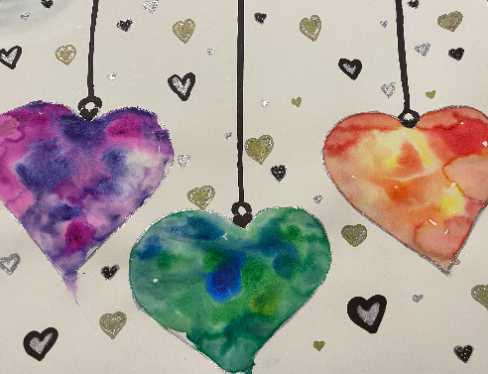
This process really is out-of-this-world
Be ready for kids to want to create more than one of these. And if they’re looking for more wet-on-wet watercolor fun, head to our free Tide Pools Bundle and try your hand at the Watercolor Sea Urchins.
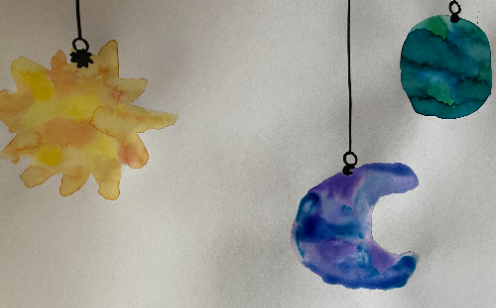
Flex those watercolor skills and create hanging hearts with your kids!
Click the banner below to download the FREE lesson plan.
We would love it if you’d share your art project results!
Don’t forget to tag us at @soulsparklettes on social media if you do this heart art project with your kids or students – we love to see what you create!
Join one of our Memberships!
This is an example of the fun we have inside the Glitterbombers Memberships. Chose the level right for your students – Glitterbombers (K-7th) or the new Glitterbombers HIGH (7th-12th). With either choice, you’ll have hundreds more art projects, videos, and resources at your fingertips for whatever you’re studying, or whatever art concept you’re ready to teach.
