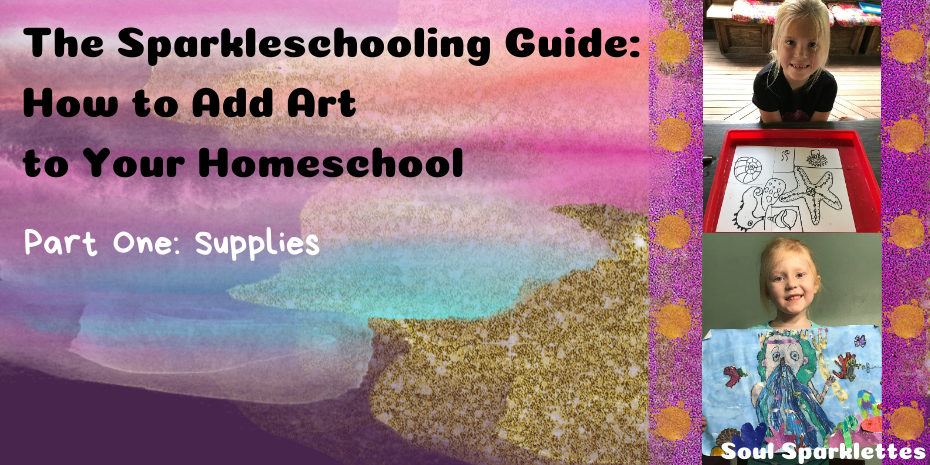

Welcome to The Official Soul Sparklettes’ Guide to Artsy Homeschooling. In this guide, I’m going to walk you through what you need to get started creating beautiful art with your kids.
That’s right, with your kids.
One of the most beautiful and rewarding things about homeschooling is the amount of time you spend together. And I know you need to fill your own creative well.
That can be hard to do when you are busy worrying about kids smearing paint on the walls, or when you look at those beautiful Pinterest projects and feel overwhelmed.
I promise you, it’s easier than you think to do beautiful, engaging, and jaw-dropping art for the wall with your kids at home.
You Don’t Need to Buy the Entire Art Store
I know, this one is hard for homeschoolers. We want to have it all. So many curriculums, so many things, not enough time.
You don’t need all of them to get started. If you buy too many supplies you can quickly get overwhelmed.
Start basic.
Once you get the hang of things, branch out on your own timeline. Know that you don’t need to dedicate an entire room of your house to art supplies, however…unless you want to.
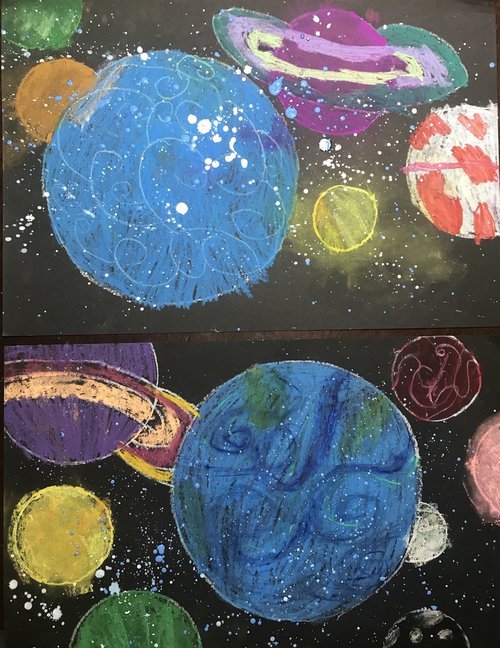
Despite how complicated some of the Deep Space Sparkle projects can look to the eye, they’re easy to teach, even if you don’t have any art experience at all.
If my kids and I can do them, so can you. My goal with this guide to artsy homeschooling is to increase your confidence, and to walk you through artsy homeschooling so that you do beautiful projects from Deep Space Sparkle too.
So what are you waiting for? Let’s get started!
5 Supplies to Get You On Your Way
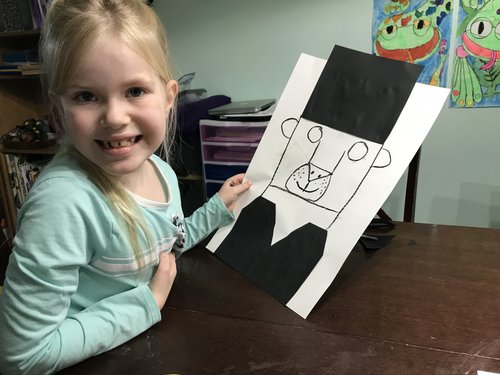
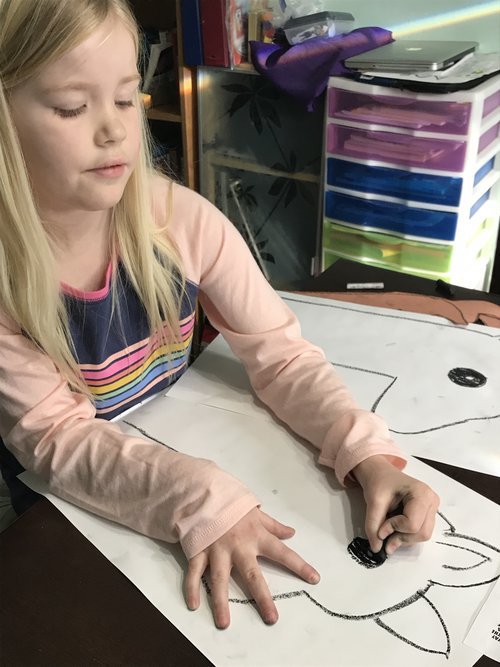
1. Oil pastels
First of all, pick up some black oil pastels.
They are the single most useful tool for Deep Space Sparkle projects, and drawing projects in general for little kids. Kids have to draw big with these and have a much harder time drawing little tiny pictures in the center of the paper.
Believe me, Little Sparklette tried for a while to continue her tiny drawings, and eventually the black oil pastel won.
Why is this important?
Because you want those kids to paint those adorably wonky drawings that they just made. If you’ve ever tried to paint a tiny drawing that a little kid has made, it requires a magnifying glass.
You can purchase Cray-Pas Expressionist black oil pastels individually from Dick Blick, an art supply company. Having a bunch of black oil pastels is awesome for a larger homeschooling family (and also for when three of them go missing and you’re convinced that you are going to find them in the snack drawer).
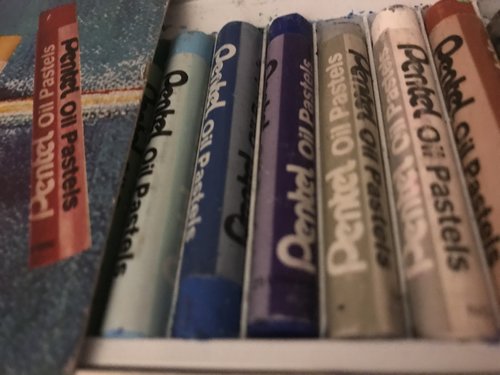
Also pick up a couple of sets of these Pentel Oil Pastels. These are super inexpensive, and the colors are beautiful on all colors of paper, including black.
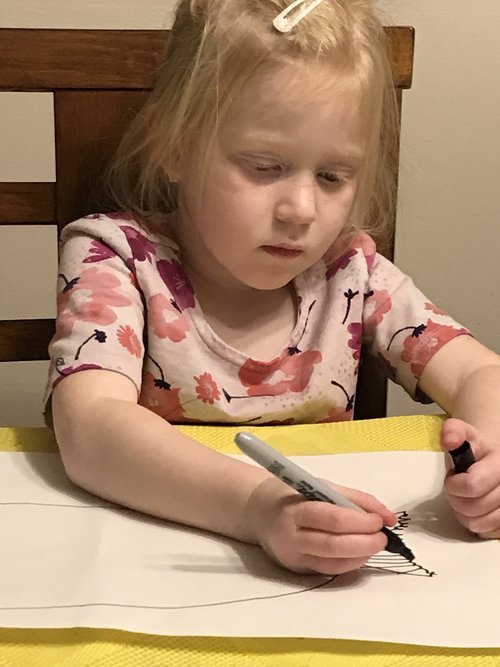
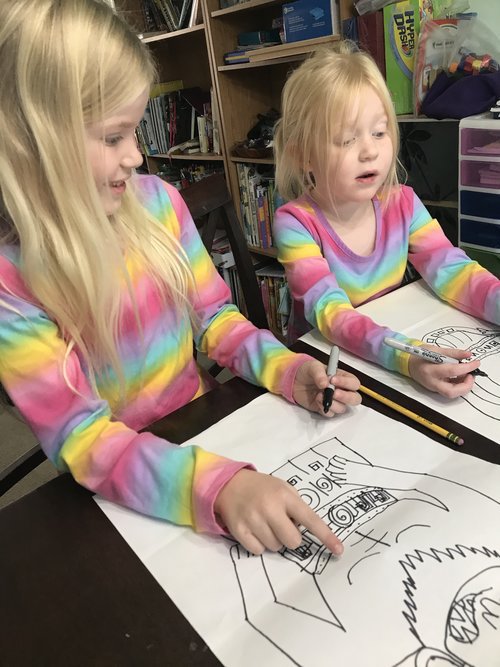
2. Sharpies & Metallic Sharpies
With a placemat or tray underneath, Sharpies aren’t that scary. And kids seem to know that they are being given an adult art supply and treat it accordingly.
Sharpies are often used in order to promote fearlessness in art making for kids. No eraser, no problem. Find a way to incorporate that “mistake”.
Just like the black oil pastels, these are often used to go back in after a project has been painted to clean up lines to give the piece a more polished look.
Metallic Sharpies are perfect for giving many of the projects extra pizazz. A silver tooth, Egyptian designs on black paper, or stars in a space project, sometimes it’s just nice to have a little extra sparkle.
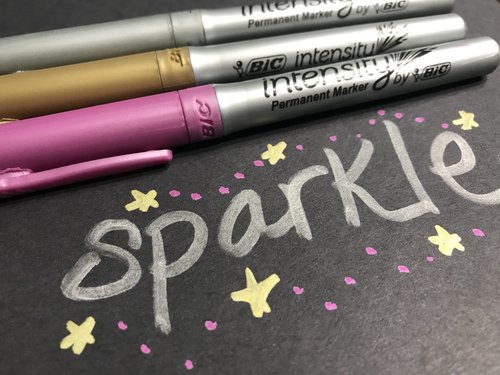
Another metallic marker is the Bic Intensity. They’re a little cheaper, and they don’t have the traditional Sharpie smell. Either are perfect for homeschoolers and the Deep Space Sparkle projects that we love.
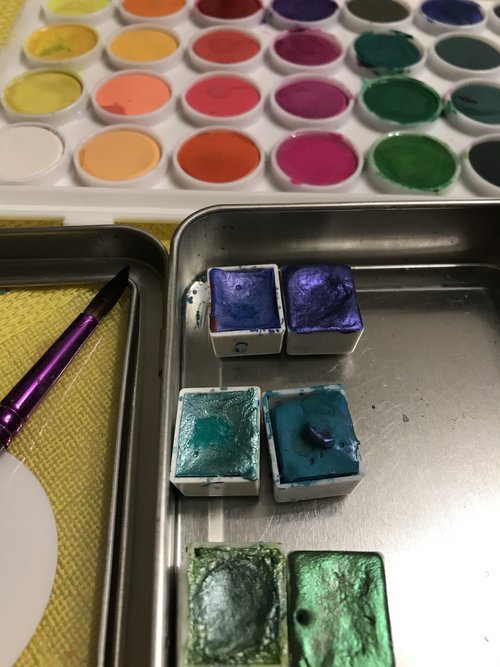
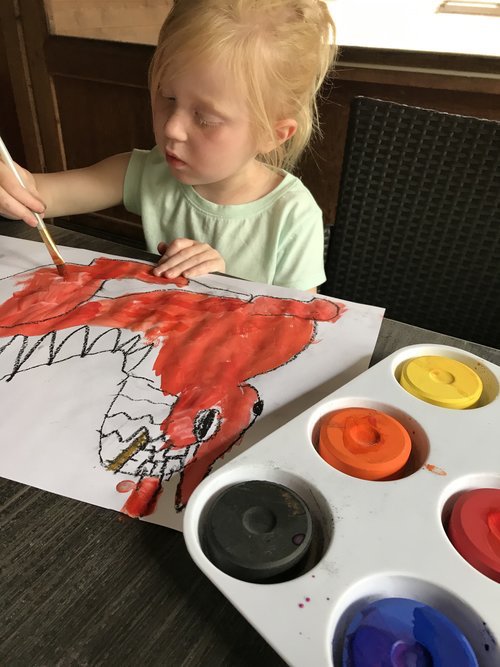
3. Watercolor Paint
Here you can pick what’s easiest for you, and what goes in your budget.
Pan watercolors are the ones that everyone is familiar with: the cute little ovals in a rectangular box with a lid, and a little paintbrush. Or you might have seen the little individual rectangular ones.
These can be difficult for kids to use, especially at younger ages. You need to teach kids how to dip their brush, swirl the paint, and to be careful not to dig the paint out of the wells.
If your kids are older, or if you are up to the challenge, try these pan watercolors, which come in enough colors to make their rainbow-shaped hearts happy. Also, this set comes with brushes, so no need to go out and buy any.
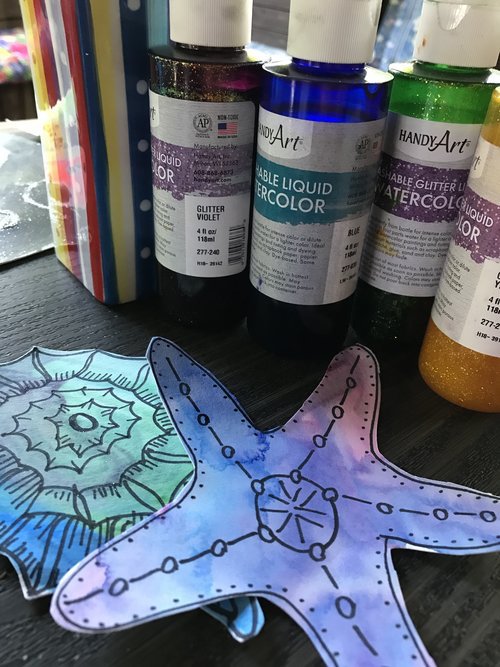
Another option is liquid watercolors. These can be more expensive, but they last for much longer than you think. With a tiny squirt and a little bit of water, you have vibrant color that doesn’t require any additional steps other than dip your paintbrush in the paint and go.
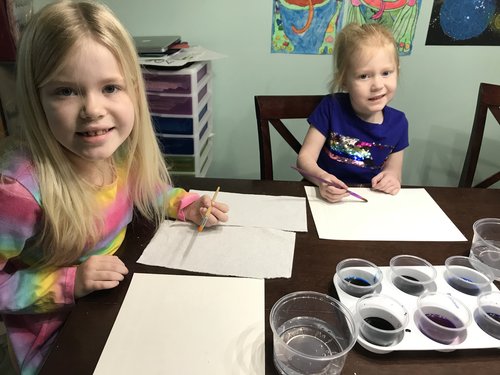
Also, you can find these with glitter if you hunt around which is perfect for adding sparkle, without the mess.
Pick either a set of pan watercolors or liquid to start.
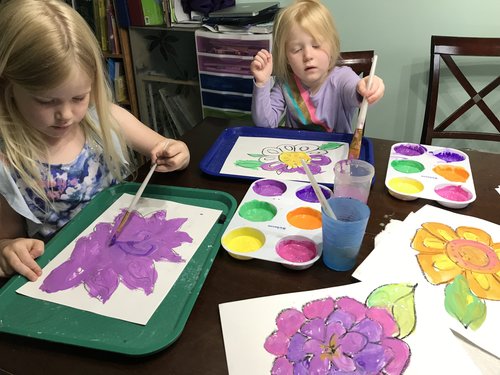
4. Tempera Paint
I think this one is really where homeschoolers can balk a little. It’s messy, but nothing gets a child smiling like a paint brush and a cup full of goopy colorful paint.
Tempera is opaque. Unlike watercolor, it’s designed to go on thick and bold.
Two Options: Liquid or Cake
I used to buy the tempera paint at our craft store. But when Patty from Deep Space Sparkle recommended the Crayola Artista II or Premier Tempera, and I tried it myself, I immediately chucked all of the craft paint in the garbage. (Probably not the most eco-friendly thing to do in hindsight, oops.)
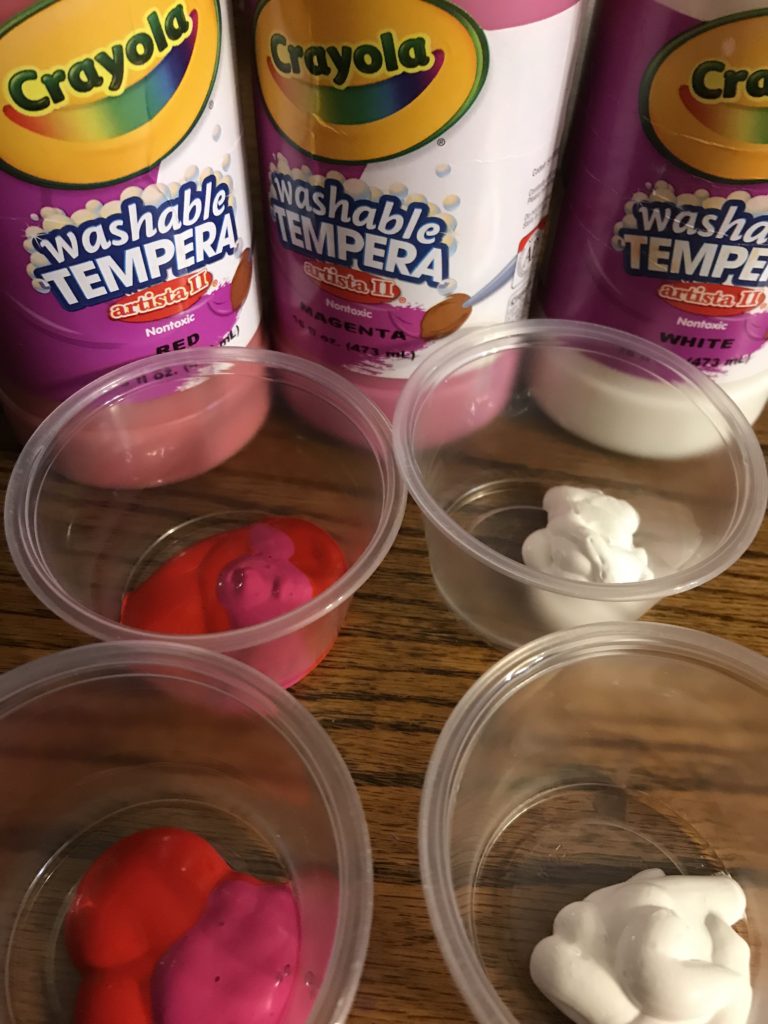
Both options are washable. What this means in this house is when I forget to put any covering down on our dining room table that it cleans up easily with a light cleaner and towel or a sponge. And it also washes easily out of clothes. I know from experience.
Not ready for liquid tempera? There’s an option for you too!
Tempera paint also comes in cake form. These look like little hockey pucks and they work the same way as pan watercolors. They dry super fast, and are a staple here.
If you are just getting started on your artsy homeschooling journey, choose one type of tempera and go from there.
You can use any brushes that you pick up at a craft store, but these Royal Langnickel brushes are a perennial favorite around here and are just the right size for almost everything.
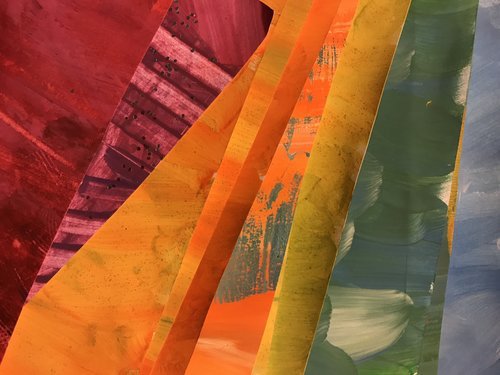
5. Paper, paper, paper
If you only have two kinds of paper in your house, make them sulphite paper and watercolor paper.
Sulphite Paper
Sulphite paper is like a heavier construction or drawing paper. It takes tempera and watercolor paint well without buckling too much, or the paint leaking through. It feels like a middle ground between cheap construction paper and cardstock.
When you have kids who are going to take half of the paint in the container and drop it on the page (often on purpose if you make painted paper) you need that paper to be sturdy. We get 80 lb and find it to be the perfect blend of sturdy enough, and it doesn’t break my wallet.
Sulphite paper is also great for kids who want to run off and draw 63 castles after you’ve just painted one. It’s inexpensive, and is great for any medium, including markers and crayons.
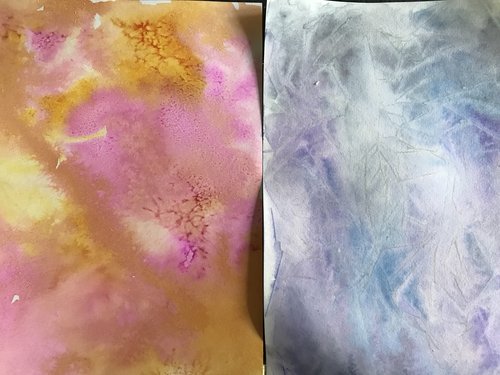
Watercolor Paper
Another type of paper to have in your home is watercolor paper.
You can use sulphite paper for watercolor paint, but it doesn’t allow you to do some of the cool techniques. Salting the paper to get a starburst effect, or seeing those colors swirl together requires the paint to sit on the paper. Sulphite paper soaks the paint right up and you will have disappointed kids, and a disappointed you.
Do you need both sizes? The short answer is yes, unless you have a large family or a small table. We’ve tried to scale down some of the projects to smaller paper with mixed results. Often my kids end up frustrated because too much of the drawing is going off the paper.
If you only get one size, go for the larger paper. You can always cut it in half.
Here’s our choices for paper that lasts the longest and has the best value for a homeschooler:
- 80 lb 12 x 18 Sax Sulphite Paper, White
- 80 lb 9 x 12 Sax Sulphite Paper, White
- 12 x 18 Tru-Ray Sulphite Paper, Black
- 9 x 12 Tru-Ray Sulphite Paper, Black
- 12 x 18 Tru-Ray Sulphite Paper, Multi-Color
- 9 x 12 Tru-Ray Sulphite Paper, Multi-Color
For more info on paper, see my post here.
The Sparklettes’ are Cheering You On!
The supplies above are more enough to get you started creating beautiful art with your kids. Above all, remember – you can switch up any art project to use what you have on hand.
I can’t wait to see what you create!
In Part Two of The Sparklettes’ Guide to Artsy Homeschooling, I’ll discuss ways to contain the artsy homeschooling mess, and tips and tricks for making art painless. Do you need to cover your table? Your floor? How do you clean up after the work is done? Stay tuned!
If you’re looking for more art supplies to get started, check out my Stocking Stuffers for Art-Loving Kids post. It’s full of ideas to use at any time of the year.
Still have questions on what art supplies to buy? Drop me a note in the comments below and I’m happy to help!