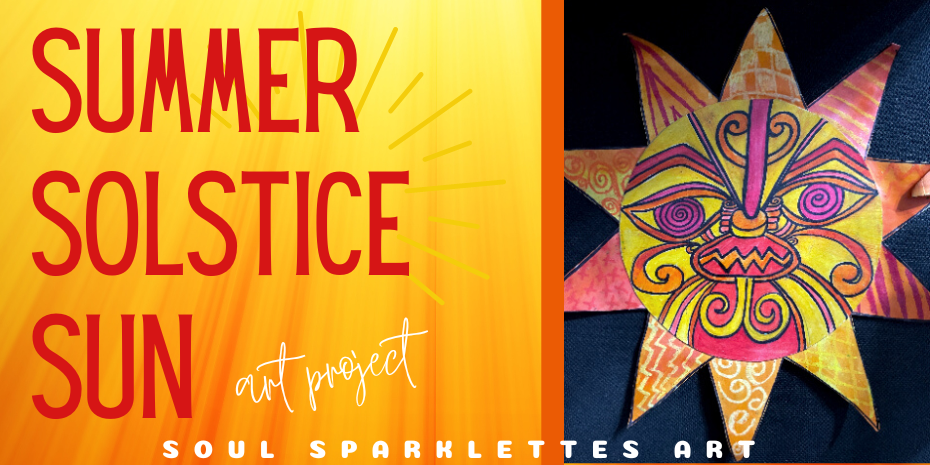
A Summer Solstice Art Project Celebrating Myths and Legends...
One of the most beautiful parts of the human experience are the stories that we tell and share. And we wanted to capture that in a Summer Solstice art project that would let students learn about a different culture, or use their own unique experiences.
The Māori of New Zealand (or Aotearoa as they call it) have a beautiful legend about how Māui captured and slowed the sun. Here’s one book you may wish to read before doing this project: How Māui Slowed the Sun by Donovan Bixley.
In this Summer Solstice art project, students can choose to draw the face of the sun using traditional Māori patterns from the legend, or choose their own unique face. There’s even a free guide included to make the face more simple, or more intricate, depending on the age of your students.
They’ll use wax resist to create unique rays and have fun using only warm colors.
What you'll need:
Crayons (reds, oranges, and yellows)
Black sharpie marker or black oil pastel
9×12 white sulphite paper
2 pieces of 9×12 white card stock
Watercolors (yellow, orange, and black)
A pencil
Ruler and scissors
Circle tracer around 8 x 8
School glue
Summer Solstice Sun Instructions
First, use a tracer to cut out two circles from card stock.
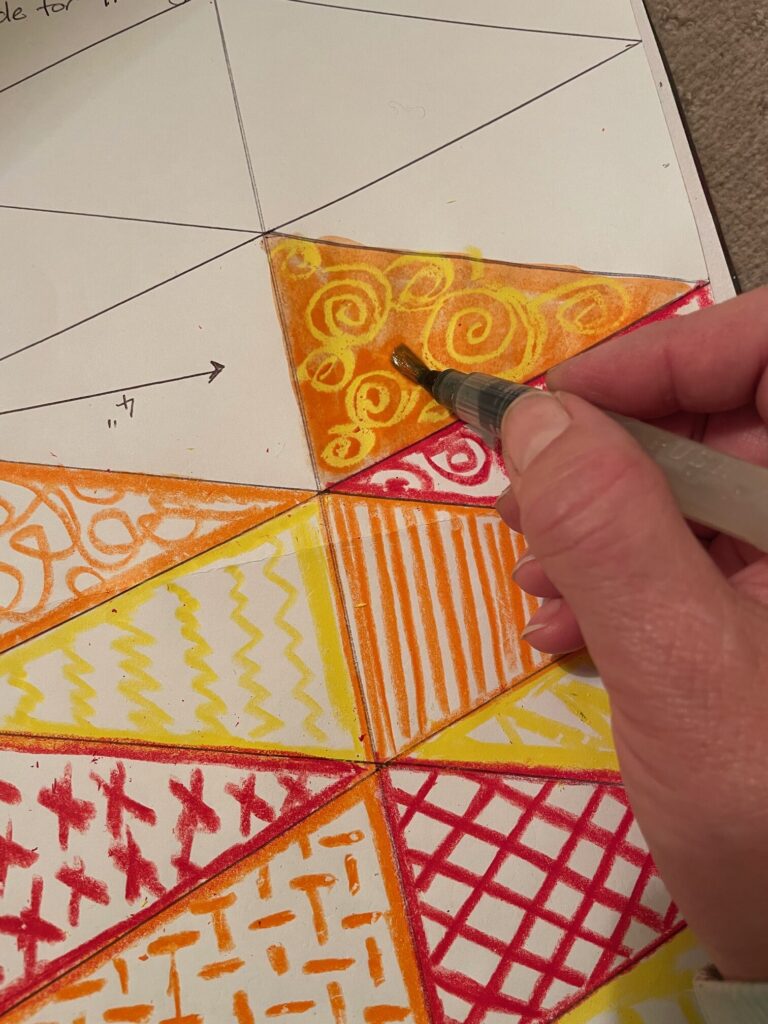
Then, you’ll need 10-12 triangles drawn on white sulphite paper. Older students can measure and draw, for younger students, have them draw and cut their own, or provide pre-cut ones. (Measuring instructions and a guide are included in the free pdf.)
Use yellow, orange, and red crayons to draw patterns on each circle. For each one, pick a different pattern. Try spirals, stars, lines, or circles!
Then use yellow, orange, and red watercolors to paint over the crayon, watching the crayon resist the paint!
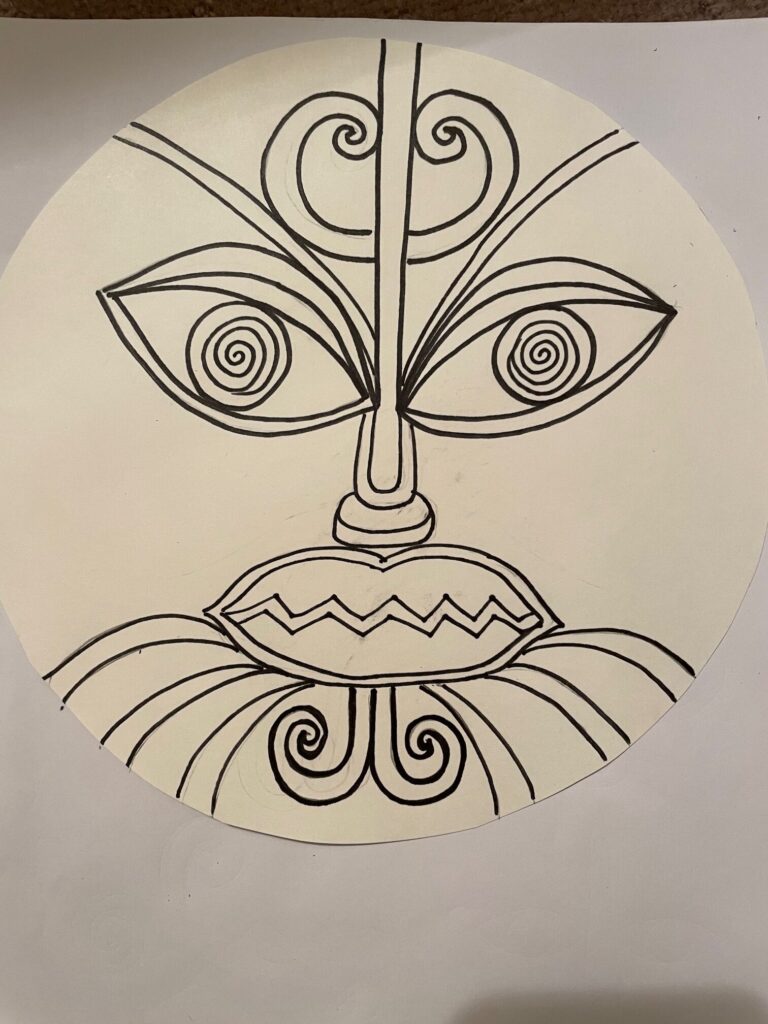
On one of the circles, draw the sun’s face with a pencil. When finished, trace over the lines with a black Sharpie.
This can be whatever face you wish the sun to have. Choose one that reflects your own personal cultural traditions and legends, or use the drawing guide from the download for Māori inspired faces.
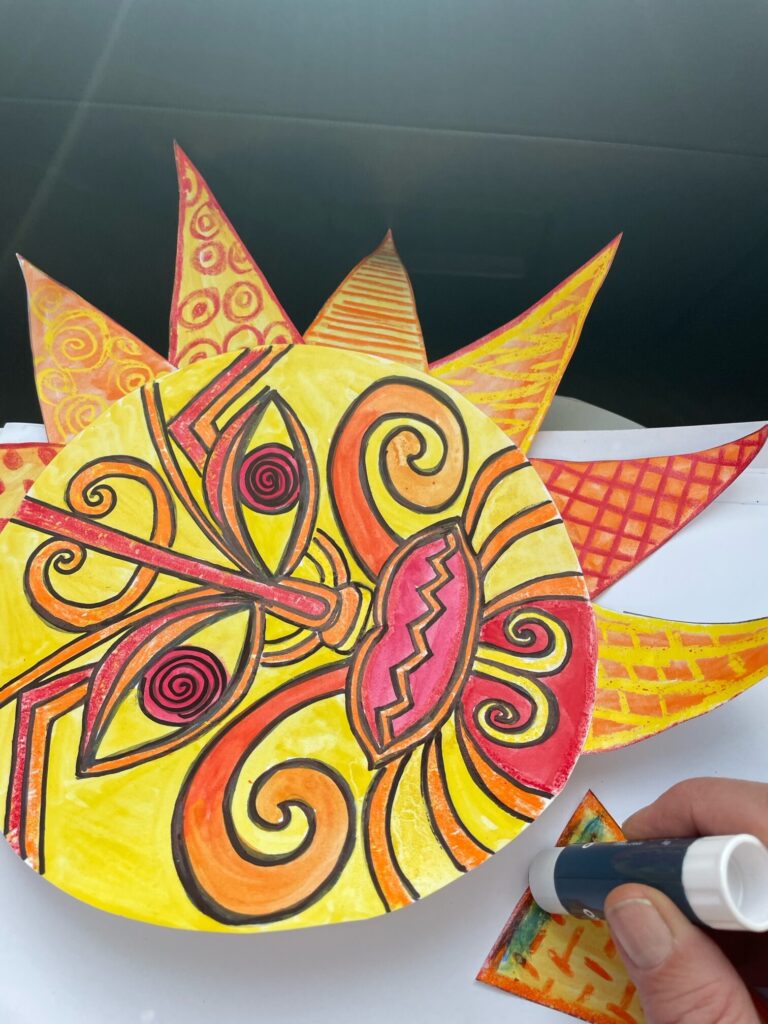
When finished drawing the face, paint with yellow and orange watercolors. Let dry.
Once dry, glue the triangles to the back of the sun, around the edges. Glue the other circle on top to ensure the triangles stay secure.
Want even more step-by-step projects with art vocab, I CAN statements, and more?
Click the banner below to download the FREE pdf and bring this Summer Solstice art project to life!
Join the Glitterbombers Membership!
Did you know we have an entire bundle on New Zealand, created by a Kiwi, and a Polynesian bundle which includes New Zealand and many other beautiful islands to learn about?
The Glitterbombers Membership has hundreds more art projects, videos, and resources at your fingertips for whatever you’re studying, or whatever art concept you’re ready to teach. Head here to hop on the waitlist and find out when we open next!
We would love it if you’d share!
Don’t forget to tag us at @soulsparklettes on social media if you make this sun art project with your kids or students – we love to see what you create!