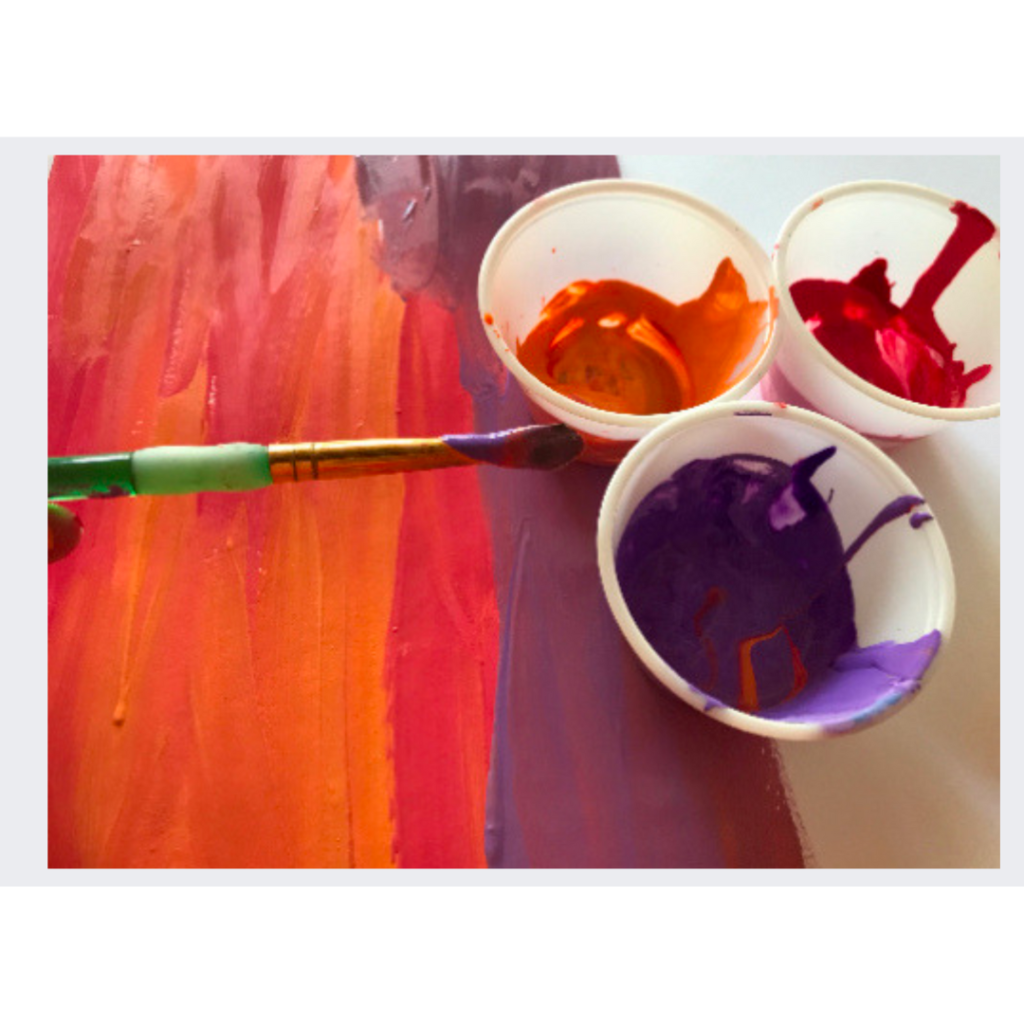
Did you know that you can have fun making gorgeous painted paper without fancy tools – with only a paintbrush? Today I’m going to teach you how to make painted paper without all of the fancy tools.
I used to think that I needed scrapers and pokey bits and thingamabobs in order to make the most incredible painted paper to use for collage projects.
I also used to think that I needed to devote an entire day to painted paper making (and honestly – this can still be a lot of fun, so make sure you do one of those every once in awhile).
Neither of these are true.
On days where we get out the liquid tempera to do a project, two things happen:
First, I’m messy. No – I don’t mean the kids. I means me. When the liquid tempera comes out, chances are I’m going to muck up a paint color just as easily as they will. Sometimes two. Or six.
Second, I have a serious problem knowing how much paint to pour in that palette. I always have too much. Or too little. So then I pour too much again. (I get a little carried away when I create – anyone else?)
But what do you do when that happens? You’re sitting there after a project, paint everywhere. Colors that are not the vibrant colors you started with. This is a perfect time for replenishing that painted paper stash.

Ways to create with the mess sitting in front of you
Add patterns with a contrasting color
For this one, paint the entire piece of paper with one of the colors, no matter how clean or messy the paint looks. Then choose a contrasting colors and add designs. Try one of these easy ideas:

- Wavy lines
- Zigzags
- Polka dots
- Spirals
- Greek key
- Dashes
- Mermaid/dragon scales
Add texture with short strokes
Paint the entire piece of paper with one of the colors, then choose another and add short brush strokes – large or small. Think VanGogh and his loose, messy, and thick brushstrokes.

Add designs with the end of the brush
Paint the entire sheet of paper with a single color, and then use the end of the paintbrush to draw circles, hearts, or other lines and patterns into the paint, exposing the paper underneath. This one is especially fun to do with different colors of paper.
What will happen if I…
There’s nothing better for kids, and sometimes for us, than to put two globs of color down on the paper and just…pait. See what happens with the colors, you’re bound to get some interesting bits of mixed color, and also areas where one color shows through more than the other.

Flat paintbrush designs
The tip of a flat, rather bushy paintbrush is the perfect way to make some interesting patterns. Try painting the paper with a single color and making prints with the brush in straight lines. Or try making curved lines and use two colors to make it look like a sunflower.
Just explore.
Sometimes the best painted paper comes when you have no expectations at all, and full rein to explore. This goes for kids AND for adults. Because I heartily recommend you pick up that paintbrush and create stacks and stacks of beautiful painted paper too.

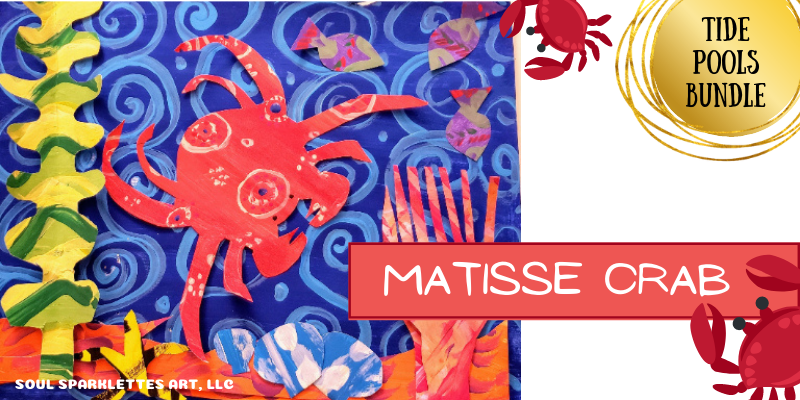
The Matisse Crab is perfect for using your painted paper stash and you can download it for free in our Tide Pools bundle. Click the image below to learn how.

Want to know what to do with that painted paper? Go make a Matisse Crab, of course! Click this link to take you straight to the FREE bundle download where you can download an entire mini-bundle of The Glitter Bomb!
We would love it if you’d share!
Don’t forget to tag us at @soulsparklettes on social media if you make painted paper with your kids or students – we love to see what you create!
Join one of our Memberships!
This is an example of the fun we have inside the Glitterbombers Memberships. Chose the level right for your students – Glitterbombers (K-7th) or the new Glitterbombers HIGH (7th-12th). With either choice, you’ll have hundreds more art projects, videos, and resources at your fingertips for whatever you’re studying, or whatever art concept you’re ready to teach. Head here to hop on the waitlist and find out when we open next!

This is a fabulous idea, thanks!!