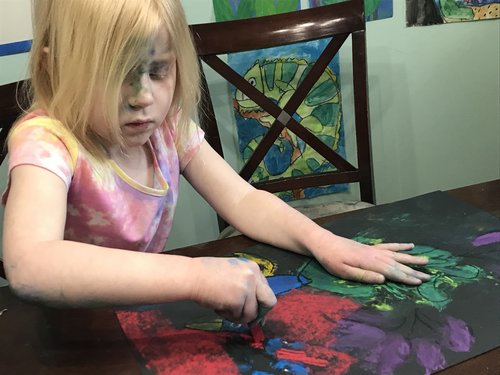
If there’s one art supply that gets adults together to give it the stink eye, I think it’s chalk pastels. Teaching chalk pastels to kids is messy. It’s dusty. And you’re almost guaranteed to have kids leaving art time looking like their artwork (this happens to me too.)
But chalk pastels offer a wonderful experience for kids – the ability to be imperfect. To not have to worry about lines that were too long or too short. To not have to worry about colors not blending the way that they wanted.
Chalk pastels seem to take away the pressure.
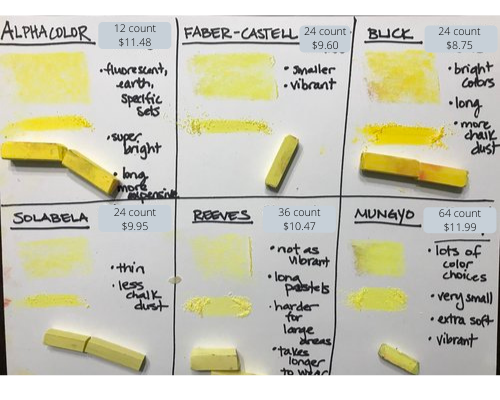
Not all chalk pastels are created equal…
Just like watercolors, paintbrushes, and the car that you drive – not all chalk pastels are created equal. Teaching chalk pastels to kids requires a couple of things out of the chalk pastel – a lot of color, and less dust. Some chalk pastels are much harder, and when kids color with them barely any color comes out. These can snap and cause a lot of frustration to kids (and to the adults teaching them!)
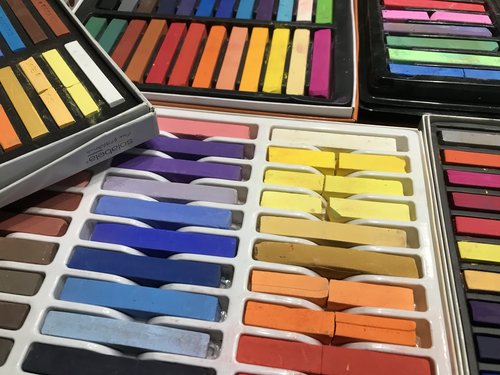
My two personal favorites are these (Amazon links are aff links):
You can get them on their own, but this set comes with a couple of tricks for those of you who teach art at home – chalk pastel holders. They help minimize the mess – and they’re helpful for kids who don’t like the feel of the chalk on their hands. Otherwise, go with their basic set right here.
This comes with 24 beautiful colors, and they’re about twice the length of the Mungyo set. You can use these as is, or you can always snap them in half and easily have two students have access to all the colors.
4 Tips to Reduce the Mess
The truth is, art is messy unless you’re using a pencil. And even then you might notice that you end up with smudge marks on your hand if you’re only sketching.
One of the pros of chalk pastels is even though they appear messy, they are one of the easiest supplies to clean up.
That’s right, teaching chalk pastels to kids can end up in a neater art environment than teaching them paint. Here are some tips to keep the chalk pastels a fun experience.
Tip 1: No blowing!
Remind kids before they begin to please not blow the chalk. Provide them with a place to tap their dust – a paper plate or another container works great, or tap it into the trash.
Tip 2: Wet wipes are your new best friend
Bring wet wipes or a damp towel to the table. Kids can use these to wipe their hands as well as clean the table afterwards.
Tip 3: Blend or hold the chalk with a paper towel
For kids who struggle with the feeling of chalk on their fingers (and Big Sparklette used to be one of those), having them hold the chalk pastel with a piece of paper towel wrapped around the edge is a great way to go. Kids can also use the paper towel or a q-tip to blend the chalk on the paper, reducing the mess (and kid anxiety).
Tip 4: Spray or seal
You don’t have to seal the artwork when it’s done, but you may notice that even holding the drawing leaves you looking like a rainbow. One way to reduce this is by spraying with a chalk pastel sealer (art supply stores carry these) or better yet, cheap aerosol hairspray like you used in the 80s for your big hair (wait…just me?) When you spray the work, keep in mind that a tiny bit of discoloration can occur (think about those spots if you accidentally drip water on paper).
Another idea is to laminate the work (this is particularly useful for homeschoolers and non-homeschooling parents) or to put it in a frame. This way you can enjoy the art, without doing too much rainbow handling.
Playing with pastels
When starting with chalk pastels, experiment with:
- Drawing with them like a pencil
- Laying them on the side and applying a lot of color
- Blending the colors to soften them
- Combining colors together and mixing them (this is especially fun to make secondary colors!)
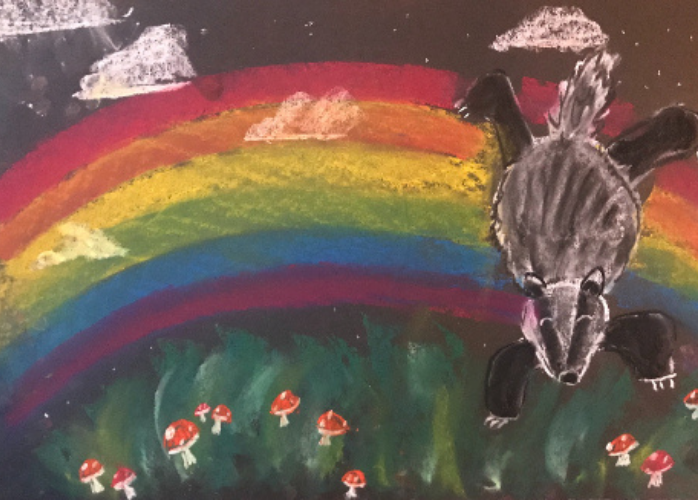
One way they really shine, and my personal favorite, is using them on black paper. I mean, do you see these colors?
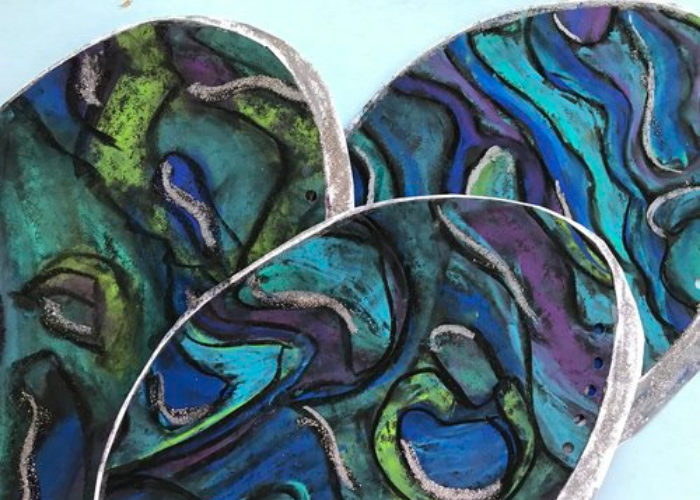
But if you’re looking for a fun way to experiment with chalk pastels and see what they’re capable of, try out our Abalone Shell Project from our Tide Pools Bundle.
There is no wrong way to create these beautiful shells. Don’t like blue? Use pink. Want more swirls? Use more swirls. Want your abalone shells to really sparkle? Add some glitter.
Pick up your copy of this lesson in our free Tide Pools Bundle in our shop right here.
What’s your favorite way to use chalk pastels?
Join the Glitterbombers Membership!
You’ll find hundreds more art projects, videos, and resources at your fingertips for whatever you’re studying, or whatever art concept you’re ready to teach. Head here to hop on the waitlist and find out when we open next!
