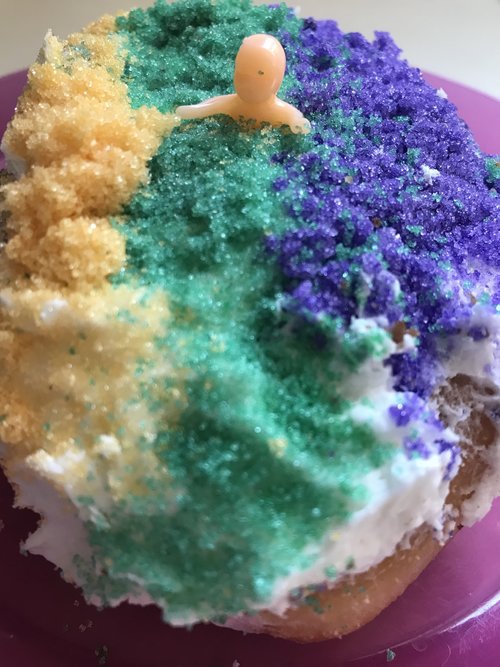
Celebrating Mardi Gras has never been a huge event in my house, except for paczkis. I grew up in a Detroit suburb, where Polish bakeries dished out these fancy donuts every year, and everyone pre-ordered them in advance.
It’s paczki season again – I can see the bakeries advertising, and that means one thing. It’s also time for Mardi Gras, complete with beautiful feathered and ornate masks.
Find a local bakery to you that celebrates with these donuts or the traditional king cake! What’s better than explaining the baby inside a baked good, followed by making your own embellished mask? Sounds like a worthy celebration to me.
Mess-Free Mardi Gras Mask
If thinking of masks makes you fear paper mache, have no fear – this art project uses basic supplies you already own! It’s perfect for all ages, with kids all starting with a basic shape, and adding embellishments to their heart’s content.
I hope you get time to eat a donut while your kids are happily creating!
Mardi Gras Mask Supplies
1 12 x 18 sheet of sulphite paper in yellow, green, purple, or black
2-3 9×12 sheets of sulphite paper in the colors not chosen above
Sharpie, pencil, or oil pastel for tracing
Metallic oil pastels or metallic Sharpies
Black oil pastel
Acrylic gems (optional)
Scissors
White school glue or a glue stick
Making the Mask and Feathers
Set aside the 12 x 18 piece of paper for the background.
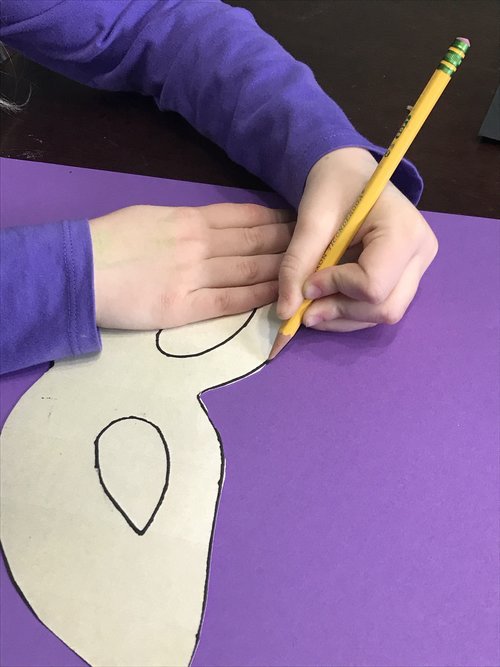
Print off the template onto cardstock and cut out the mask and the feathers.
Using the template, trace the mask onto a sheet of 9×12 yellow, purple, green, or black sulphite paper.
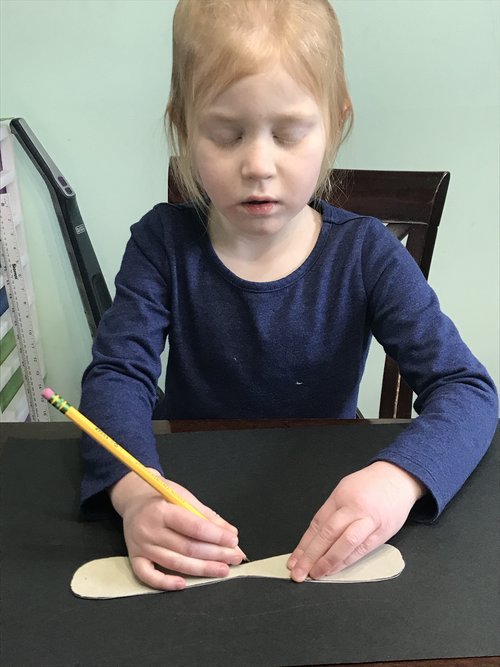
Fold the mask in half, making sure that the Sharpie or marked line is on the outside. Tilt the mask so the pointy end is up and then draw a large teardrop shape for the eye hole. Cut out the eyeholes.
Tip: You can help younger kids get started with the eye hole cutting by pressing an edge of the scissors through the paper. Older kids can do this on their own.
Once the eyes are cut out, set the mask aside.
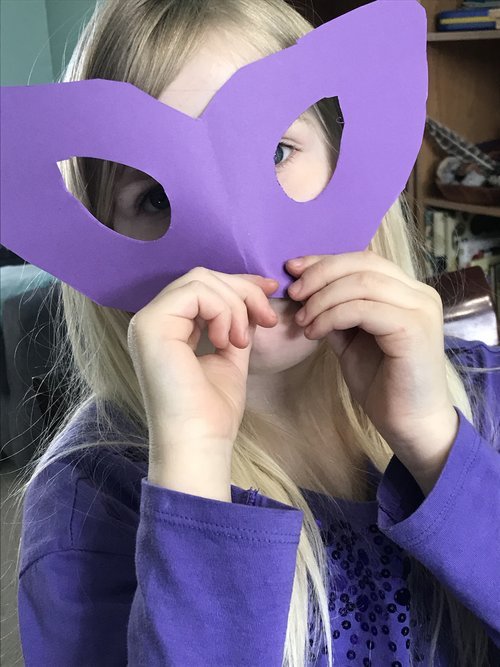
Use another color of 9×12 paper to trace the feathers and cut out. You should have three full feathers and two half feathers.
Glue one of the feathers near the top center of the 12×18 background page, vertically. Glue the other two full feathers to the left and right of the center. Finish by gluing the half feathers to the outer edges. Glue the mask on top.
Adding the Details
Show kids a few examples of masks so they can see the different designs – triangles, swirls, just about anything goes.
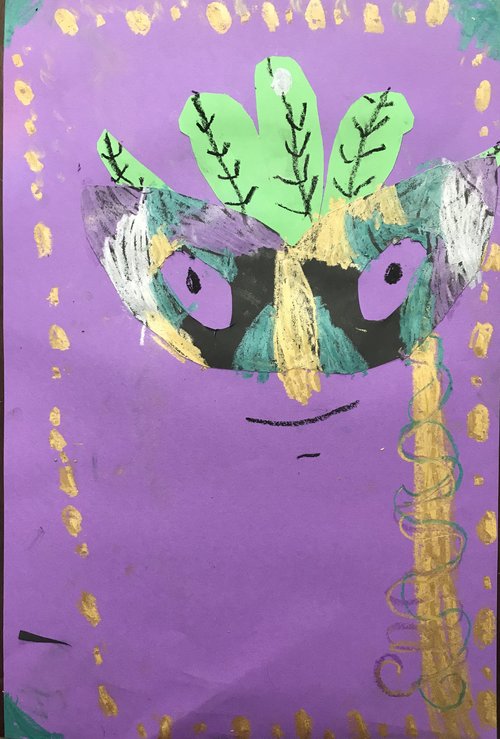
With a gold oil pastel or Sharpie, add a vertical line to one side of the mask for a stick. Use a couple of colors to add ribbons by making wavy lines that cross the stick and end in a spiral.

Then it’s time for the kids to add their own personal touches to their mask using metallic oil pastels, a black oil pastel, or bits of paper.
Encourage creativity! The samples show owls with golden beaks, triangles, swirls, and even extra decor to give a fuller plume effect.
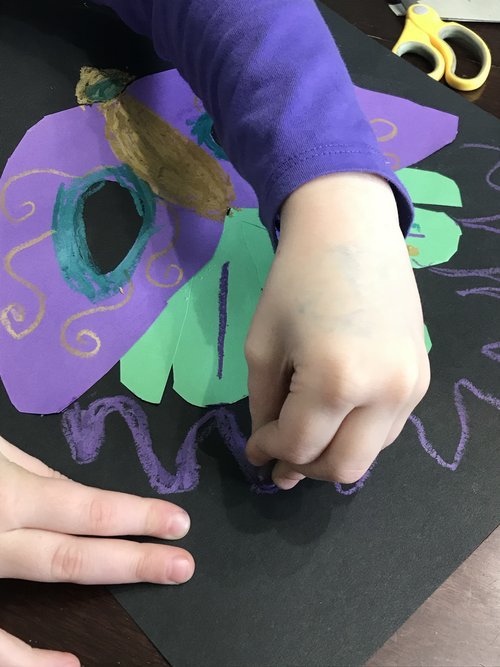
Add acrylic gems if you have them.
For an added touch, let the kids make “beads” (filled-in circles) or another pattern around the edge of the paper with the metallic oil pastels or Sharpies.
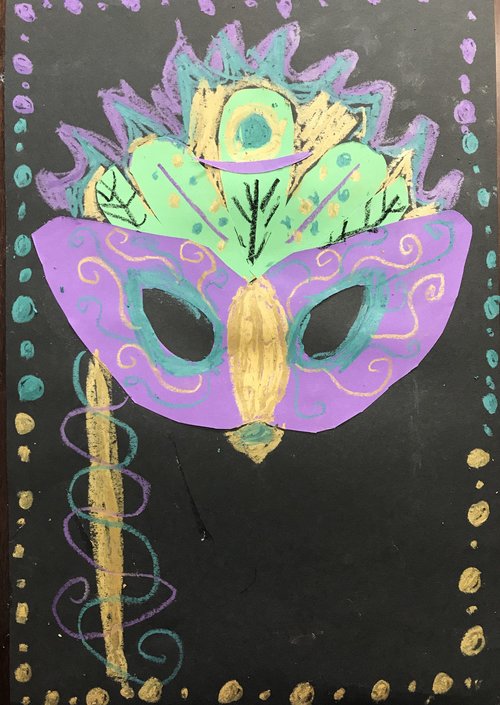
We would love it if you’d share your Mardi Gras Masks!
Don’t forget to tag us at @soulsparklettes on social media if you make this mardi gras mask art project with your kids or students – we love to see what you create!
Join one of our Memberships!
This is an example of the fun we have inside the Glitterbombers Memberships. Chose the level right for your students – Glitterbombers (K-7th) or the new Glitterbombers HIGH (7th-12th). With either choice, you’ll have hundreds more art projects, videos, and resources at your fingertips for whatever you’re studying, or whatever art concept you’re ready to teach.
