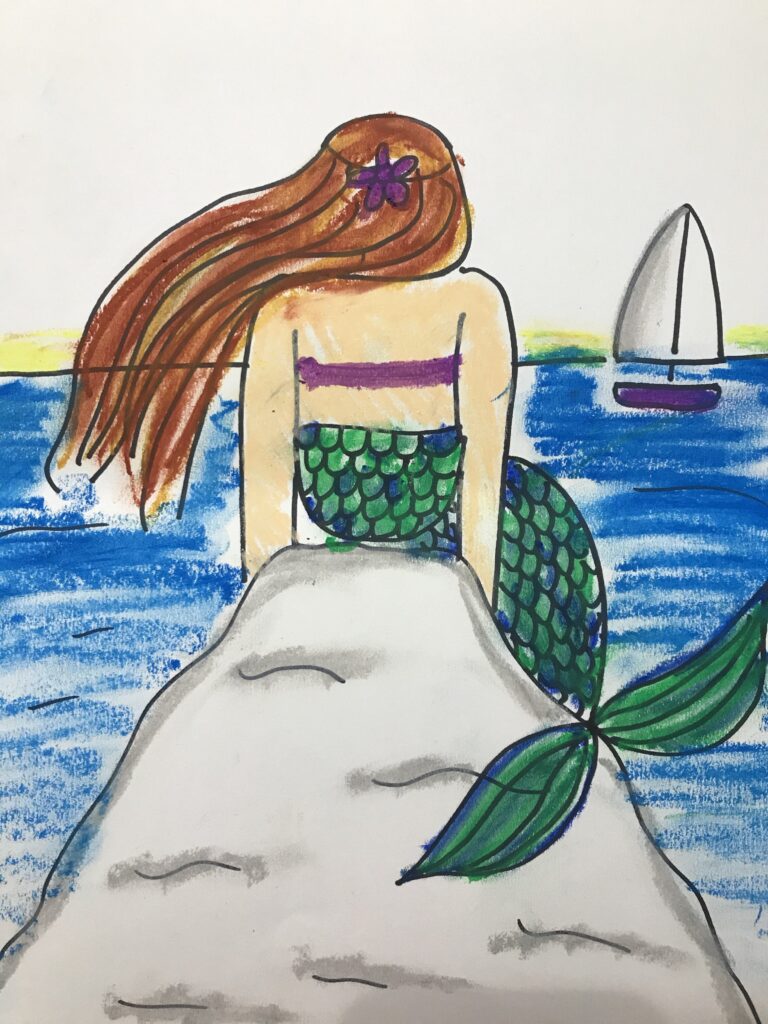
Kids love mermaids. Long flowing hair, glistening scales, tales of underwater adventure. But drawing a mermaid can be a bit of a challenge for young kids who are still working on figures.
So with this mermaid art project for kids, they can focus on other things such as learning how to draw the scales, smooth out oil pastels, and create a shimmering sunrise
Scroll down for step by step instructions, or watch the YouTube video!
Drawing the Mermaid
The Rock
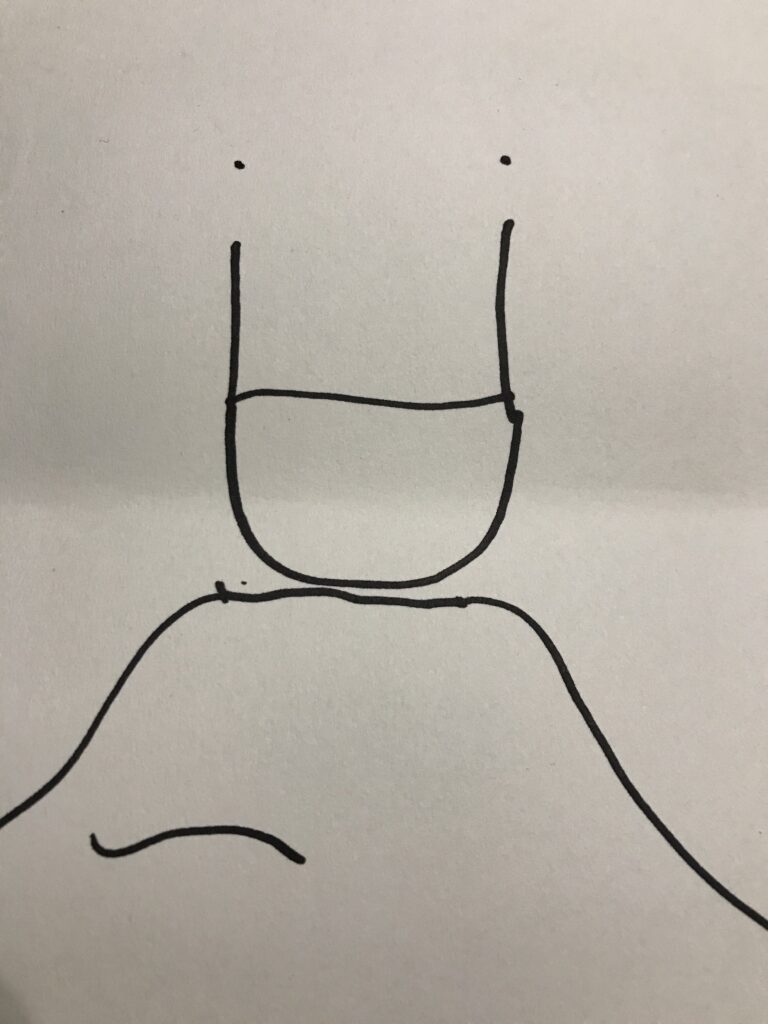
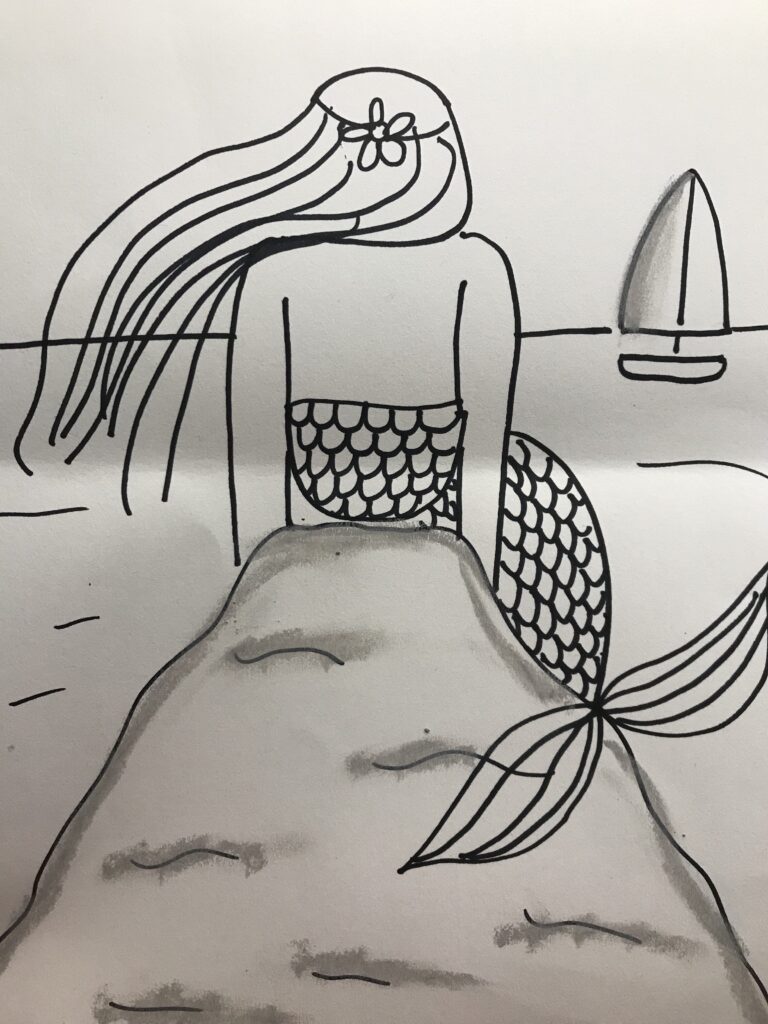
Start by folding the paper in half. This helps kids begin their rock in the correct place, and so the mermaid’s head doesn’t reach too high.
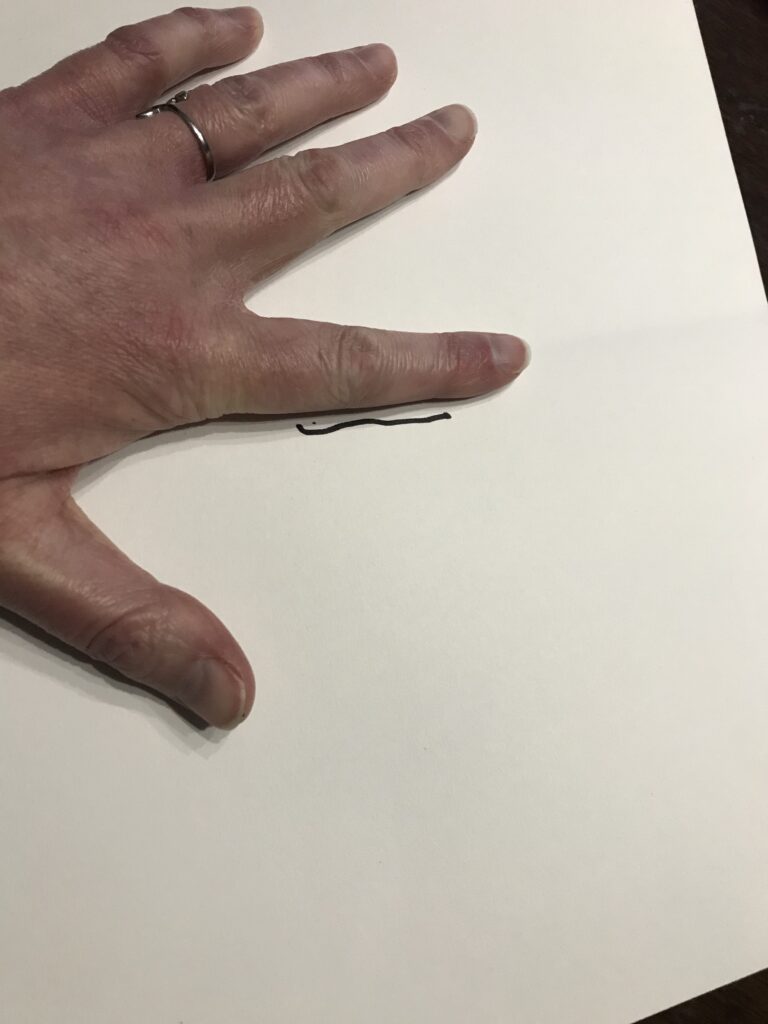
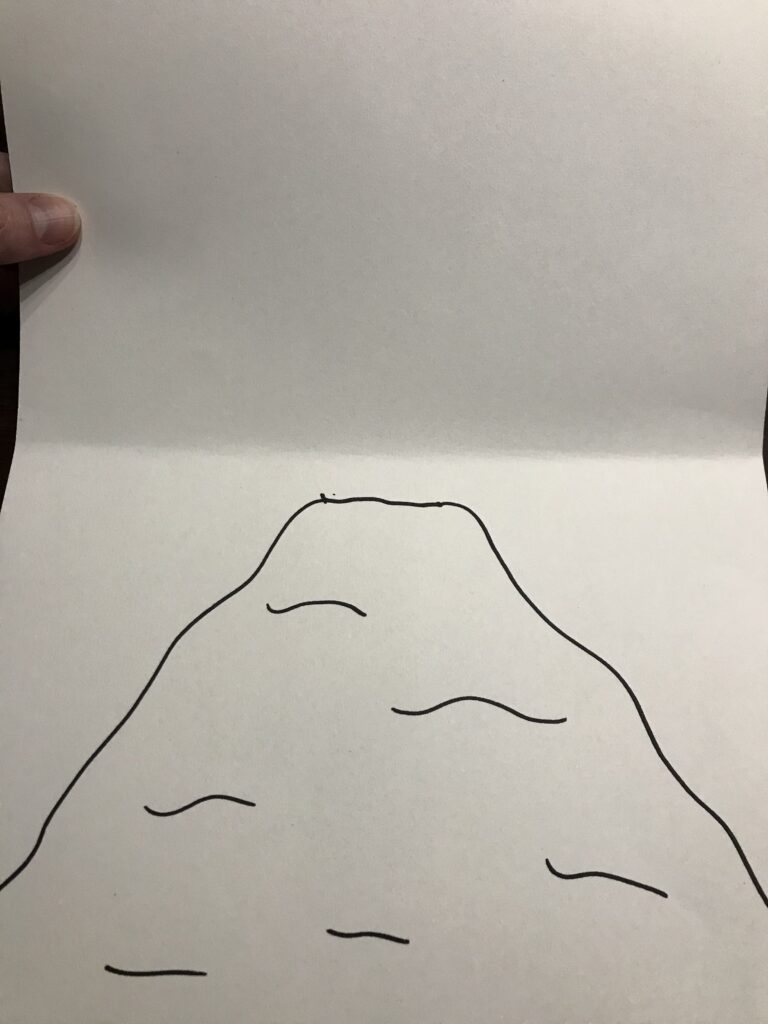
With a finger placed horizontally along the crease, draw a short line under the finger for the top of the rock. Extend one end of the line downward to the bottom corner of the paper, keeping the line imperfect and wobbly. Repeat on the other side. Add some short, horizontal wobbly lines on the rock for texture.
The Mermaid’s Body
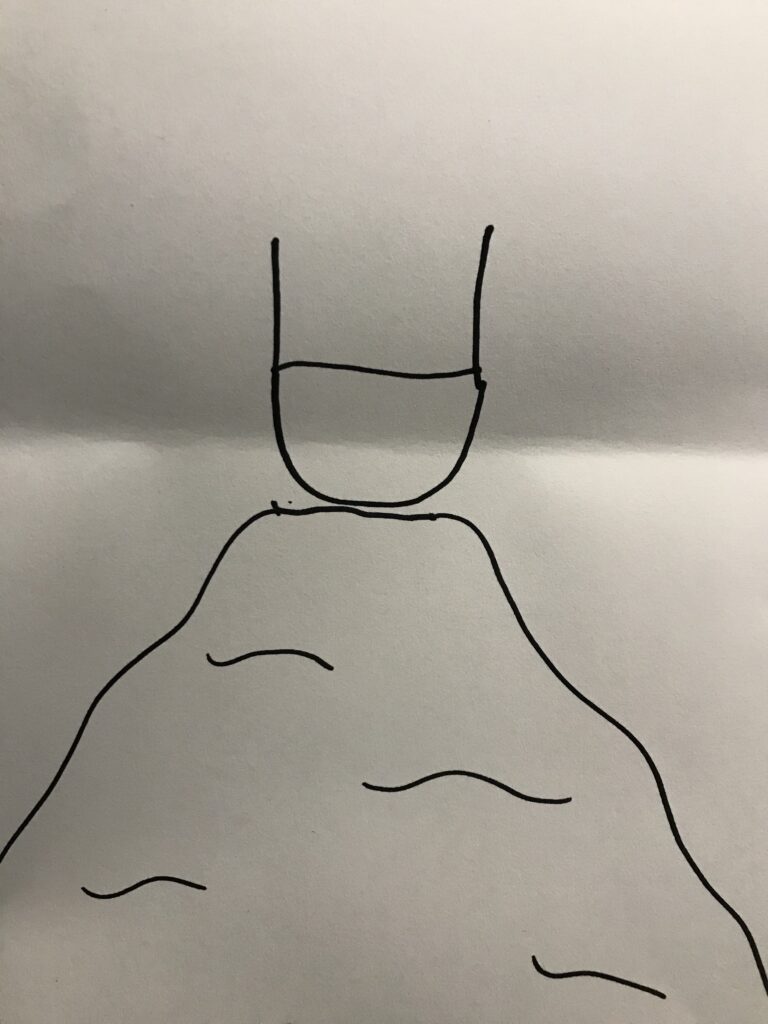
To start the mermaid, draw a short, squat letter U on top of the rock. Draw a line connecting the top of the U. This part of the drawing will be mermaid scales. Extend the lines of the closed off U upward another inch to two inches.
Jump your marker up an inch and place a dot above the top of each line. This will be the start of the shoulders.
Starting at the dot, go up slightly and then fall like a waterfall, ending the line at the rock. This is the outside of the arm. Add a shorter line from the rock to the body for the inside of the arm. Repeat on the other side.
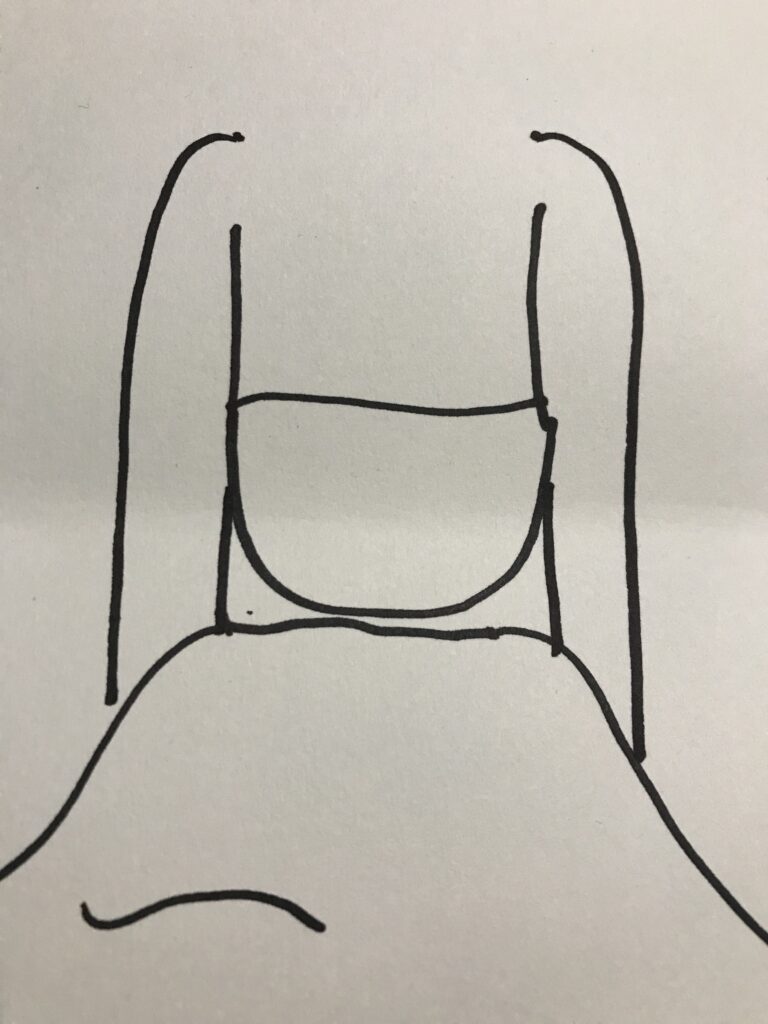
Drawing the Hair
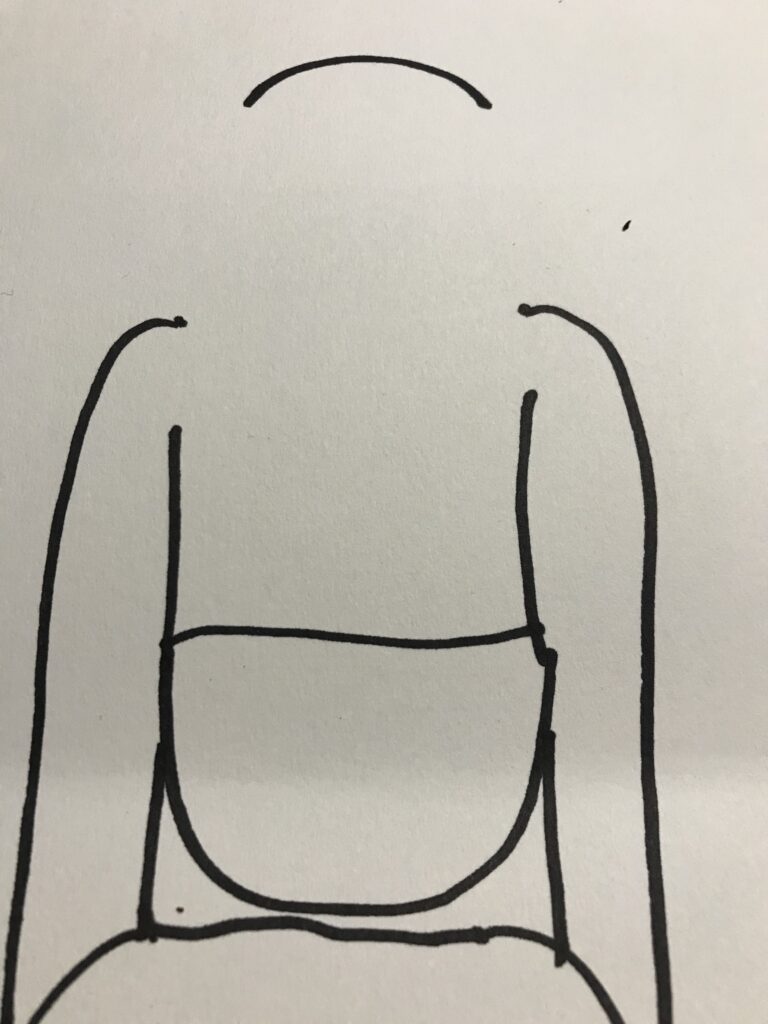
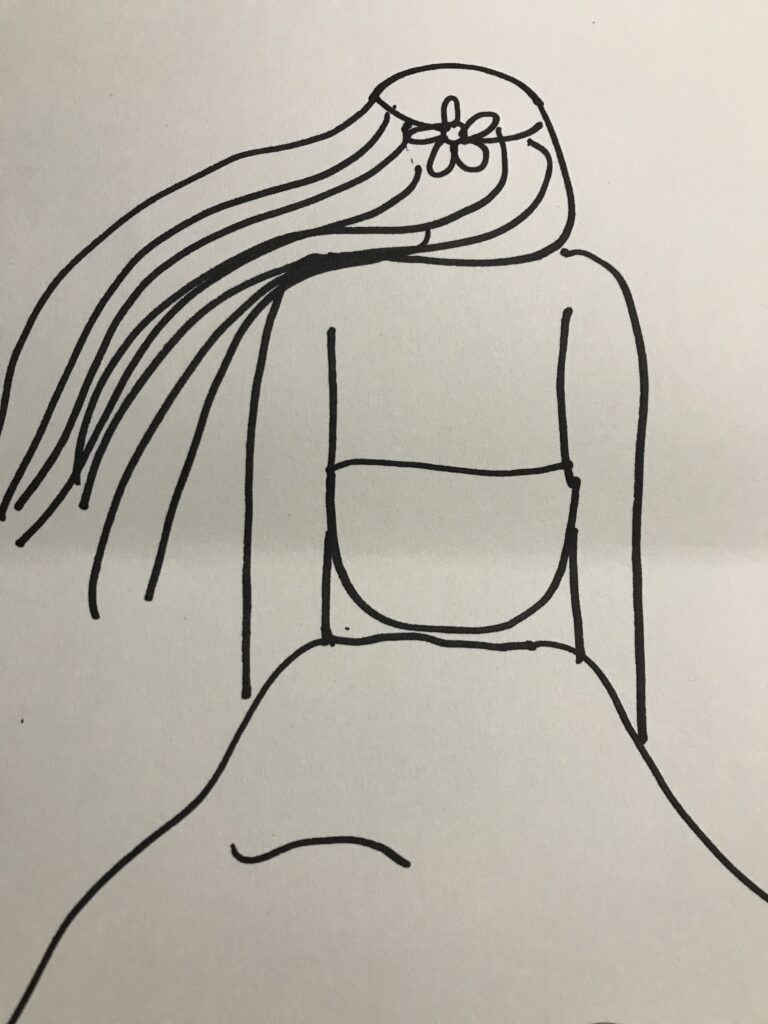
Draw a small rainbow line about a finger’s length from the shoulders in the middle for the top of the head.
Starting the line on one end of the rainbow line, have it extend towards the shoulder, go across the back of the neck to the other shoulder, and down to the side.
From the other side of the rainbow line, extend the line downward in a soft curvy line for the other side of the hair. Add additional lines coming down from the top of the head, or a flower in the back of the hair.
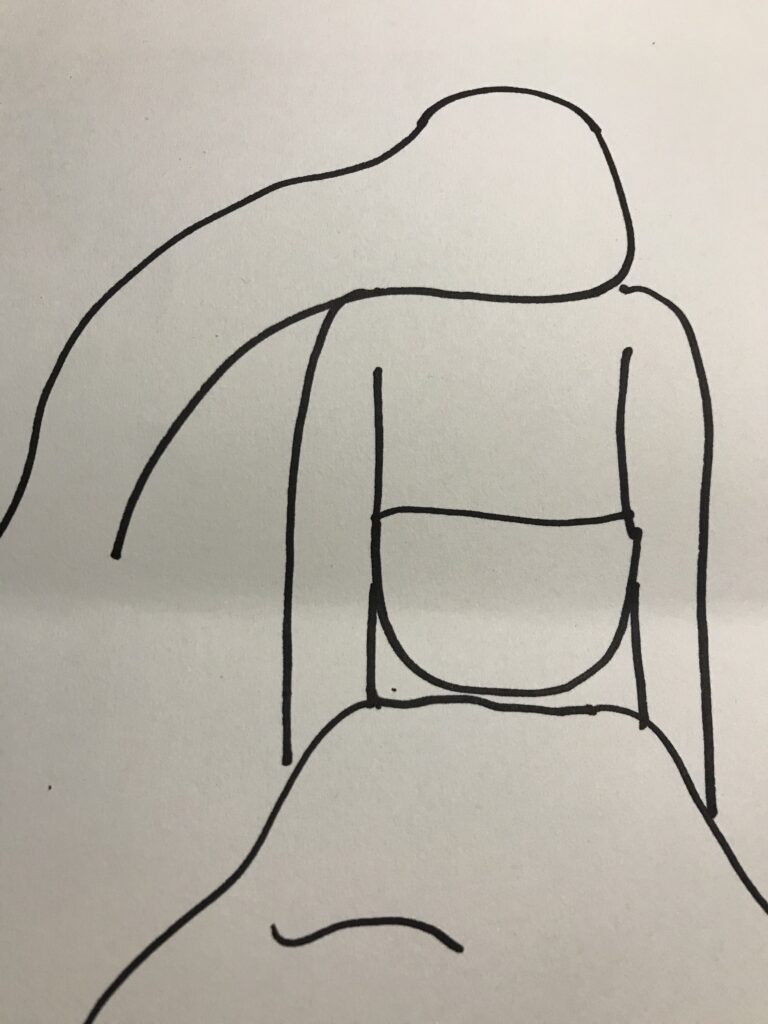
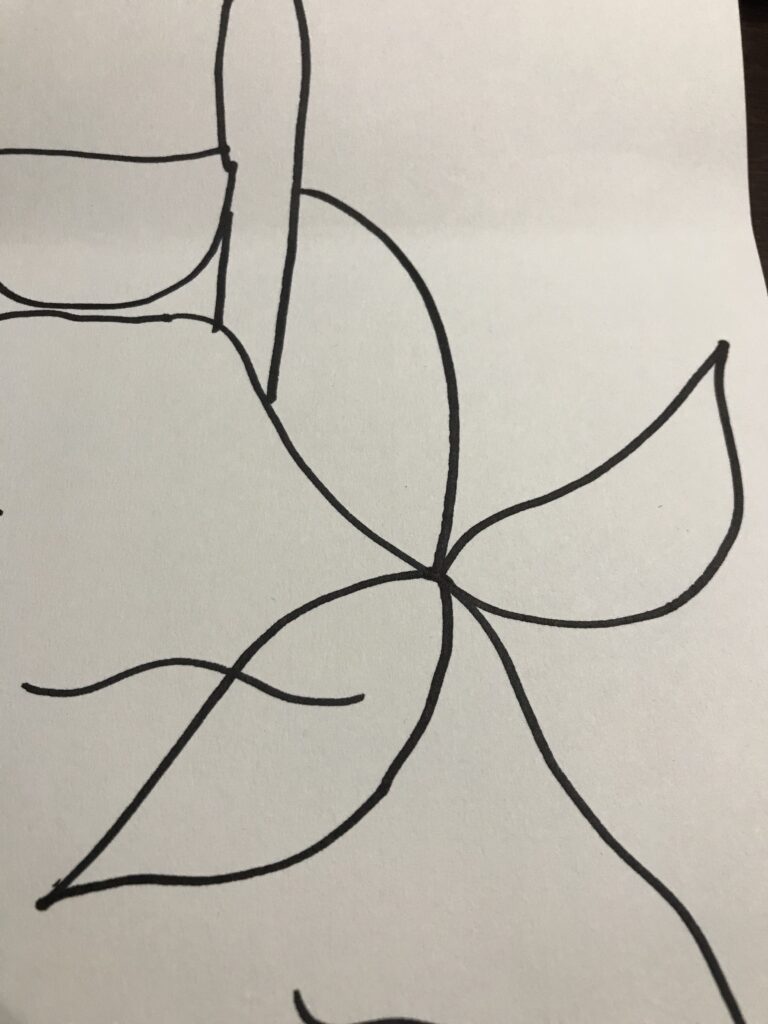
On the side of the mermaid that does not have the hair, it’s time to draw the rest of the tail. Begin your line on the other side of the arm from the fin waistline. Draw a curved line downward until it hits the rock. Make the line have a slower curve for a longer tail. Add two leaf-shaped fins – one going off the rock, and one going inside of the rock.
Adding the Scales and Final Touches
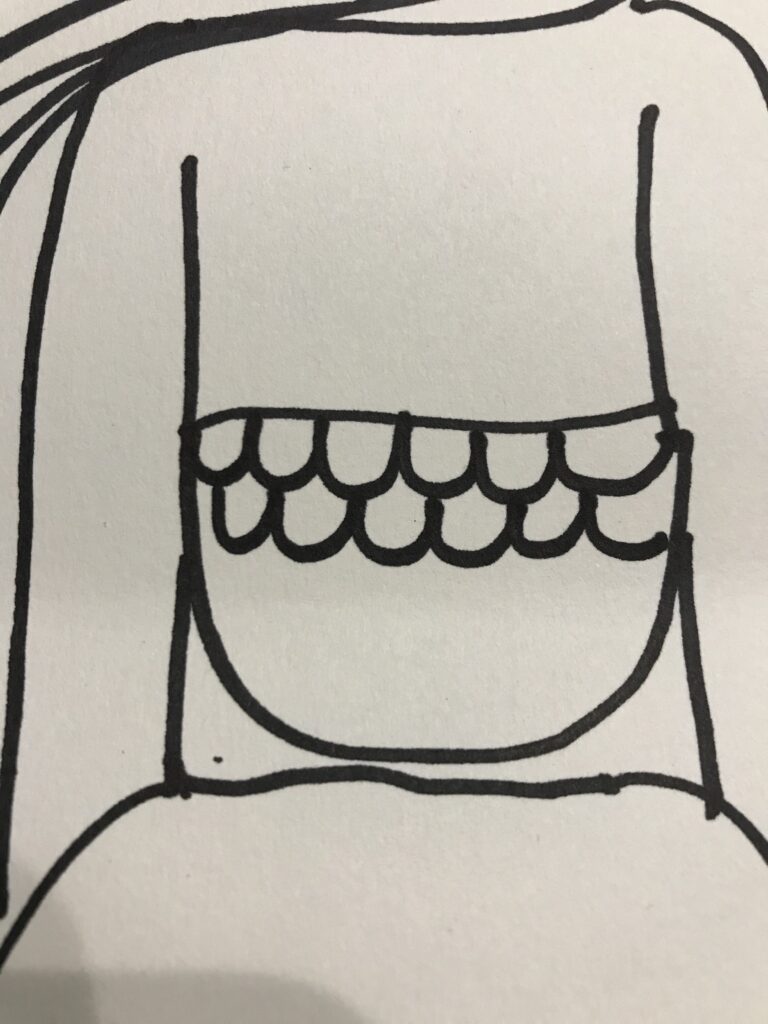
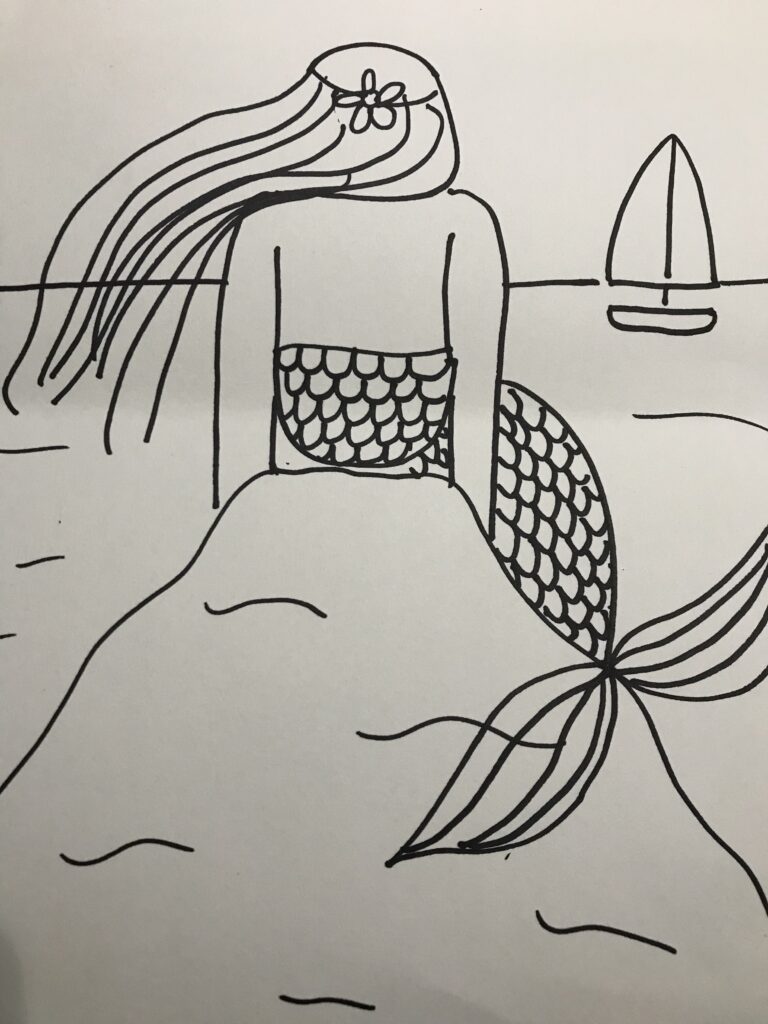
Draw the scales on the mermaid’s tail, using little u-shapes. The u’s in the row below should connect to the middle of the u’s above them. Add stripes to the mermaid’s tail.
Draw a curved edged triangle to the right of the mermaid’s head. Add a small line. Finish with the bottom part of the boat. Draw a horizon line that is slightly above the boat and that goes through the sail.
Using Oil Pastels
Use a gray oil pastel to outline the rock, cover the black texture lines, and to draw a line on the larger part of the sail. With one finger, smear the pastel, working your finger in the direction of the line that you made.
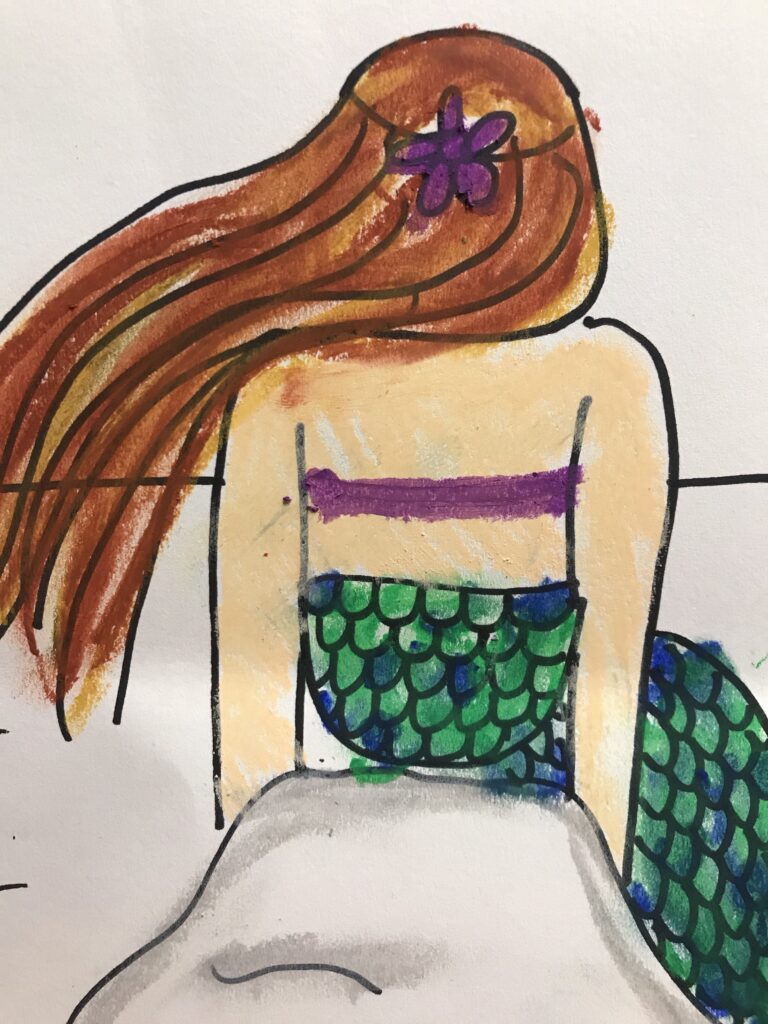
Use a skin tone to color the mermaid’s back and arms.
Pick out two colors to use for the tail. Make little u’s over the marker lines with the first color, not worrying if they are overlapping. Repeat with the second color. Use one finger to smear the colors together. Pick one color to use to color in a few scales once the colors are blended.

Add stripes to the tail, using one color, and then the other. Blend with the same finger you used for the scales.
Pick two colors for the hair. Draw lines in the same direction as the marker line. Do not trace. Use a finger to smear the colors together.
If you added a flower or shell to the hair, color it in. And then add a line across the mermaid’s back for the strap.
Use a light blue oil pastel to color the water, making darker lines at the top and slowly getting lighter and less careful about fully coloring. Smear the blue oil pastel to finish the water.
Add a light yellow line right above the horizon line. Smear.
You’re all done!
We would love it if you’d share!
Don’t forget to tag us at @soulsparklettes on social media if you make this mermaid art project with your kids or students – we love to see what you create!
Join one of our Memberships!
This is an example of the fun we have inside the Glitterbombers Memberships. Chose the level right for your students – Glitterbombers (K-7th) or the new Glitterbombers HIGH (7th-12th). With either choice, you’ll have hundreds more art projects, videos, and resources at your fingertips for whatever you’re studying, or whatever art concept you’re ready to teach. Click here to join our waitlist and find out when we open next!
If you loved this mermaid art project, you may like this free summer art project:


Yay thank you so much, we will give this dear mermaid a try today. ❤
Oh good!! I can’t wait to hear how it turns out – this was one of my absolute favorites!