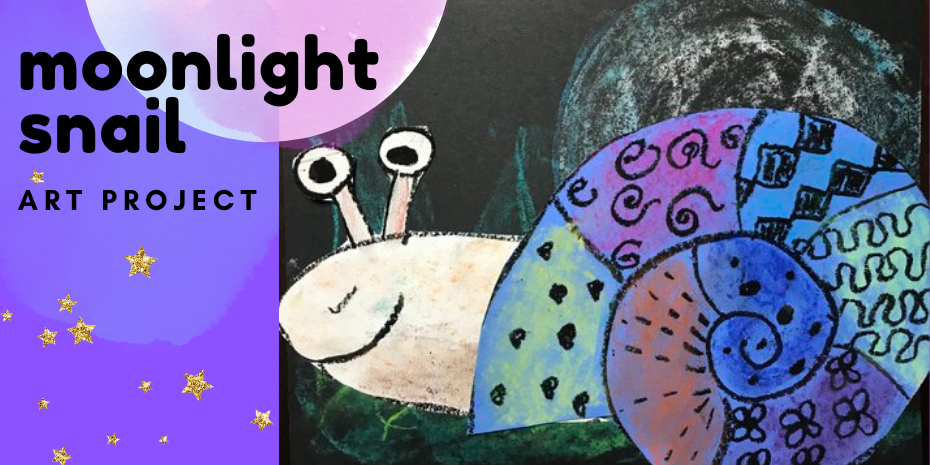
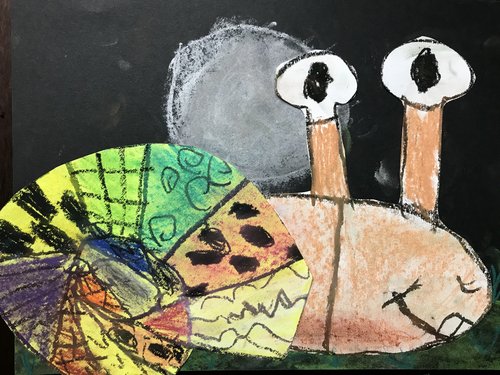
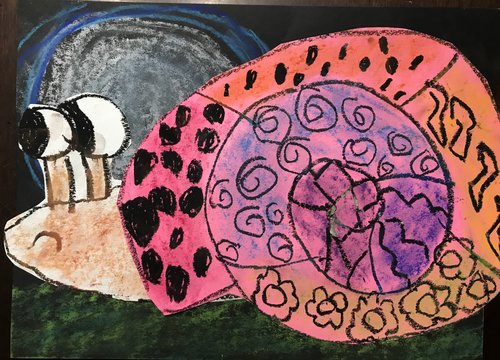
My kids love drawing spirals in all of their forms. Seashells and ammonoids are everywhere in our house, and even alien art projects sport spirals in the middle of their foreheads. So this moonlight snail art project was perfect for them to draw a gigantic spiral that could be decorated with rainbow colors and patterns.
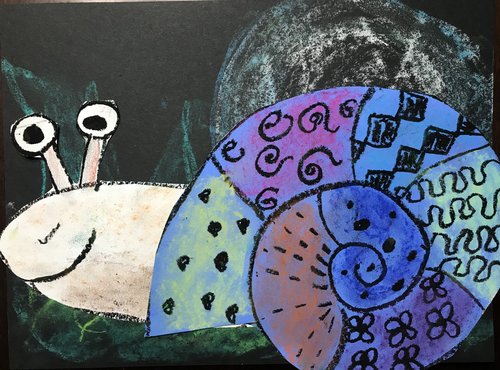
I wanted this to be simple for even the youngest kids, and use only a few supplies. So here’s what we did.
Supplies
- 9×12 sulphite paper in white, black, and a bright color
- chalk pastels
- black oil pastel
- glue stick or white school glue
Drawing the Snail Shell
Using a black oil pastel, make a dot in the center of a colored piece of sulphite paper and start drawing a spiral. When you run off the edge of the paper, draw a short line towards the rest of the shell to close it off.
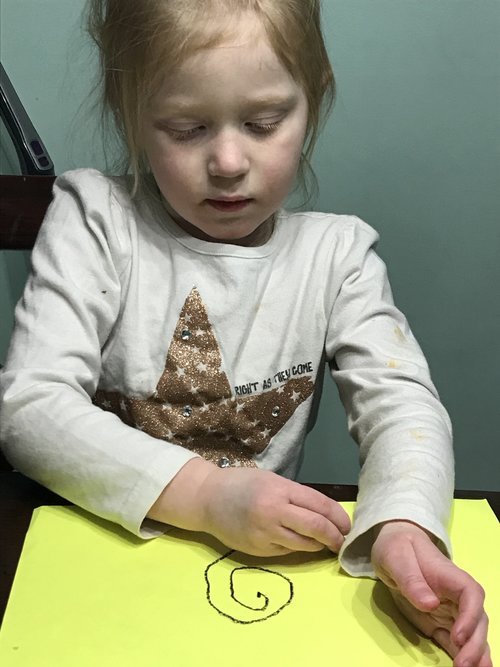
Draw five or more curved lines to break the shell into sections.
Use the chalk pastels to color each section a different color. Use one finger to smooth out each section.
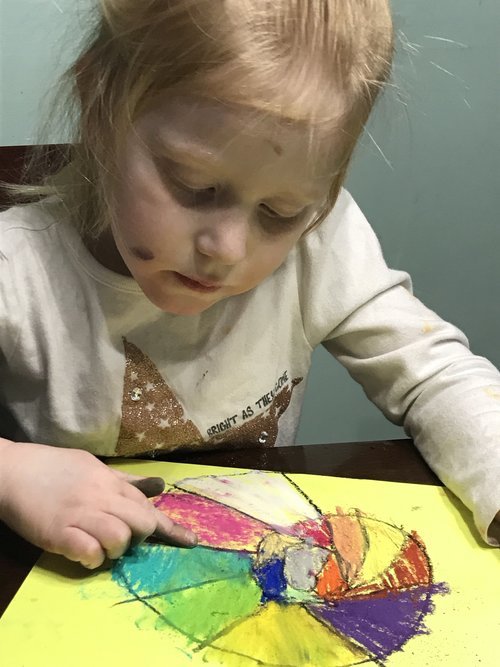
Use the black oil pastel to give each section a different pattern. Some ideas are polka dots, little spirals, zigzags, dashes, curvy lines, or hearts. If kids want to give the same pattern to two sections, make sure that they aren’t next to each other.
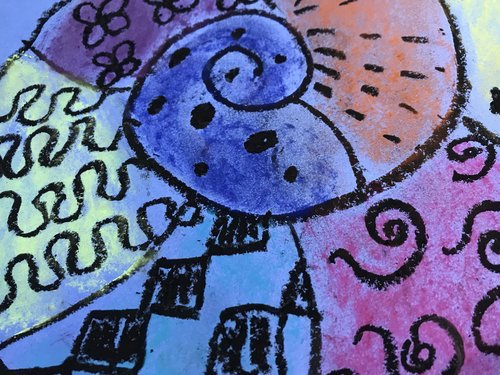
Cut out the shell and set aside.
Drawing the Snail Head
Place your hand near the bottom of the page and use a black oil pastel to trace around it. Add two short lines and a circle on top for an eye stalk. Repeat with a second eye stalk. Color in the snail’s pupils.
It’s okay to have a longer head than you think you will need because some will be glued under the snail shell.
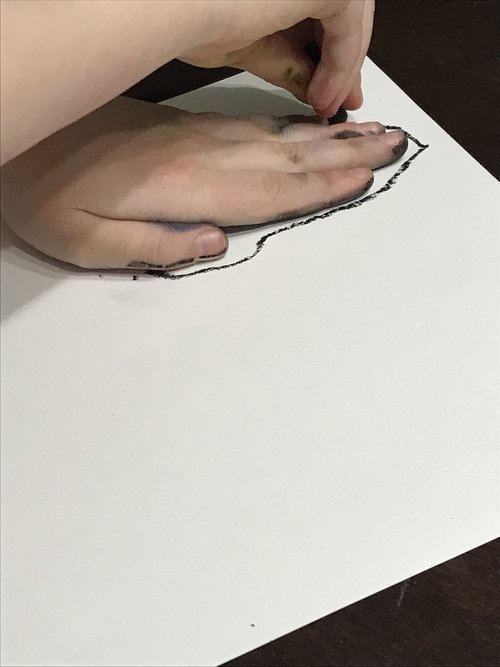
Use light or dark brown chalk pastels to color in the snail’s head, adding a darker shade near the bottom for a shadow.
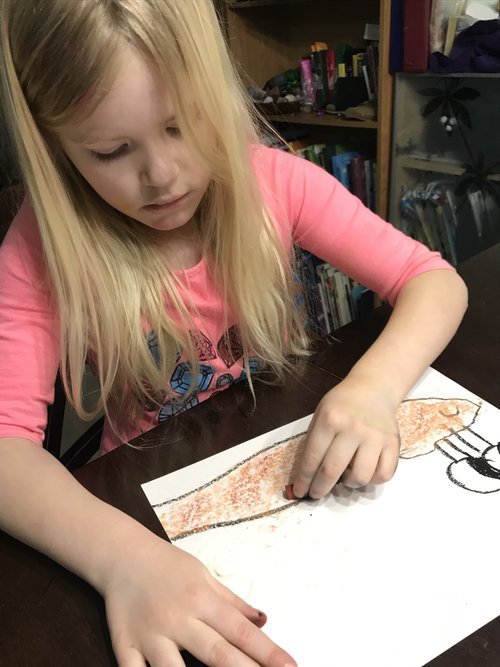
Cut out the snail head and set aside.
The Background and Putting it All Together
On a black piece of sulphite paper, add the ground for your snail. We chose to use different shades of green for grass, but kids can choose whatever color ground they wish.
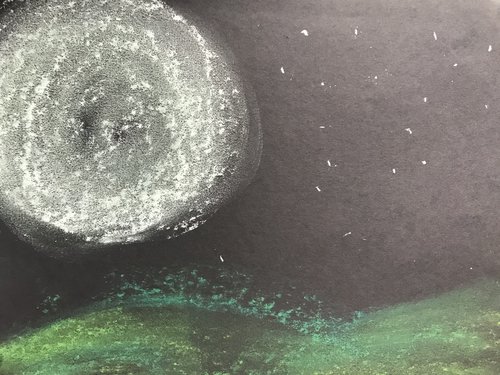
Make a larger moon in the background by making a white circle and using gray or light blue to color it in. Add stars or other background elements, but remember that the snail is fairly large and will cover up most of them.
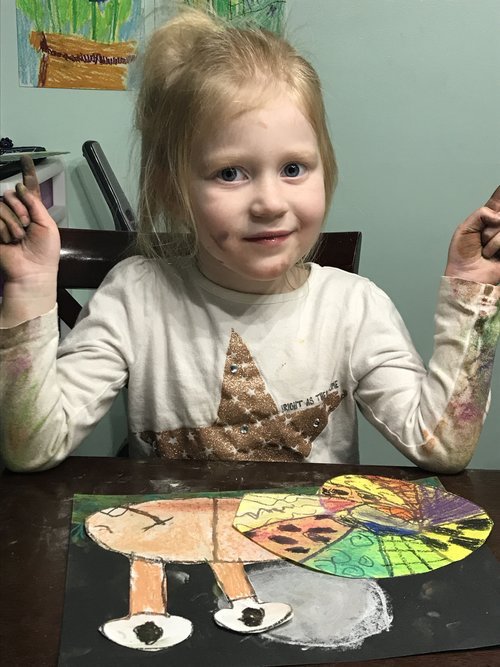
Glue the snail head down first, near the bottom. Glue the snail shell on top, so that the opening of the shell is near the head and the bottom of the paper.
This is the time to find out if you missed any steps or want to tidy up any lines. I noticed that I completely forgot the pupils on my snail, because my Sparklettes couldn’t decide which way he was looking.
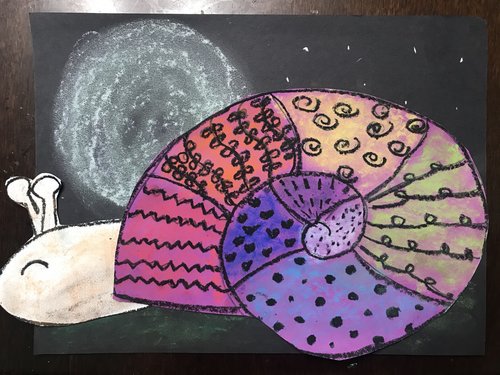
That’s it. Moonlight snails, full of bright color, easy to draw, and one with a snaggletooth.
We would love it if you’d share!
Don’t forget to tag us at @soulsparklettes on social media if you make this snail art project with your kids or students – we love to see what you create!
Join one of our Memberships!
This is an example of the fun we have inside the Glitterbombers Memberships. Chose the level right for your students – Glitterbombers (K-7th) or the new Glitterbombers HIGH (7th-12th). With either choice, you’ll have hundreds more art projects, videos, and resources at your fingertips for whatever you’re studying, or whatever art concept you’re ready to teach. Click here to join our waitlist and find out when we open next!
