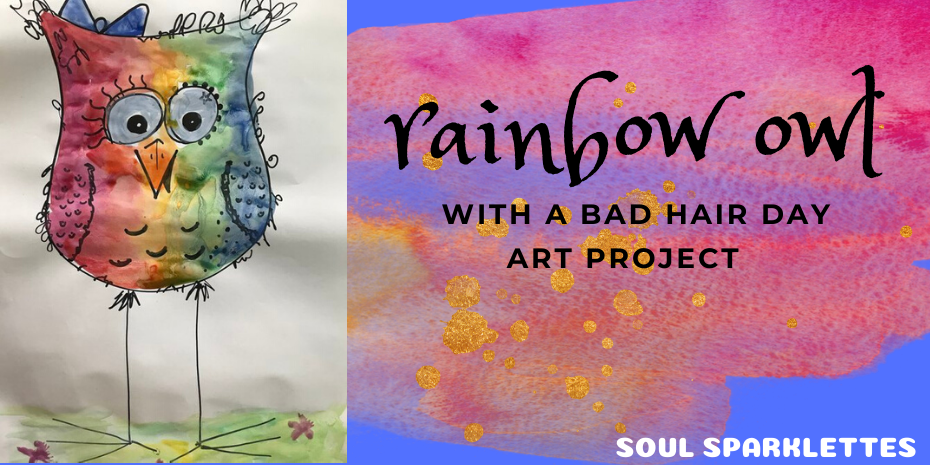
It’s no secret that owls are my favorite animal. It’s also no secret that I have a love-hate relationship with drawing them, and I can never get the face to look the way I want it.
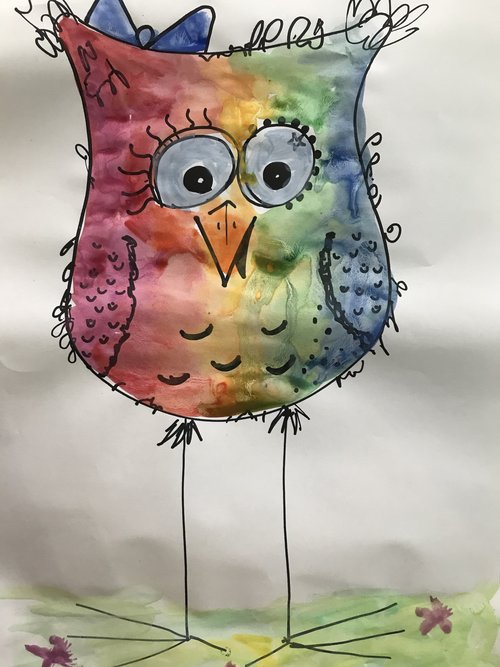
I was browsing Pinterest one night and came across a super sweet rainbow owl. His feathers were all a bit out of place, and it reminded me that sometimes there is an artistic beauty in the mess, much like when my girls wake up in the morning, their hair going this way and that.
It was a good opportunity to talk types of lines, and how we can use different types of lines to add different types of details to our owl.
This rainbow owl art project with a bad hair day is certain to brighten up your home or art room.
Here’s what we did.
Supplies
12 x 18 white sulphite paper
Black Sharpie
Cake tempera or watercolors
Medium paintbrush
Drawing the Owl
This bad hair day owl art project looks hard, but one by one, lines turn into this quirky little bird, and even Little Sparklette followed along.
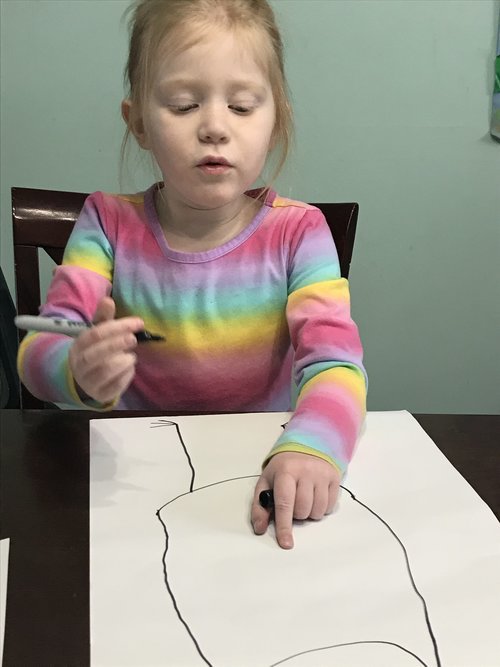
Using a black Sharpie, make a shallow u-shape about 3/4 down the page. You want to leave room for his longer legs. (My Sparklettes ran out of room for his legs when they attempted to start their owl only from the top.)
Make a shallow u-shape near the top of the page, two rounded points for ears, and connect the lines to the bottom u-shape. Make sure the line curves to in slightly before going outward again, to give him a fatter bottom.
Add two long lines for legs, and three claws facing outward, and one inward. Draw tufts at the top of the legs.
Draw two larger circles for eyes near the top of the owl’s head, and two smaller circles inside for the pupils. Add an even smaller circle inside the pupil to serve as the light spot. Color in the pupil, leaving the light spot white.
Give your owl a long V for his beak, and a half-v that will serve as the bottom of the beak. Color in the half-v.
Use a wobbly curved line for the wings.
Add thicker U-shapes on the belly, and little U-shapes on the wings.
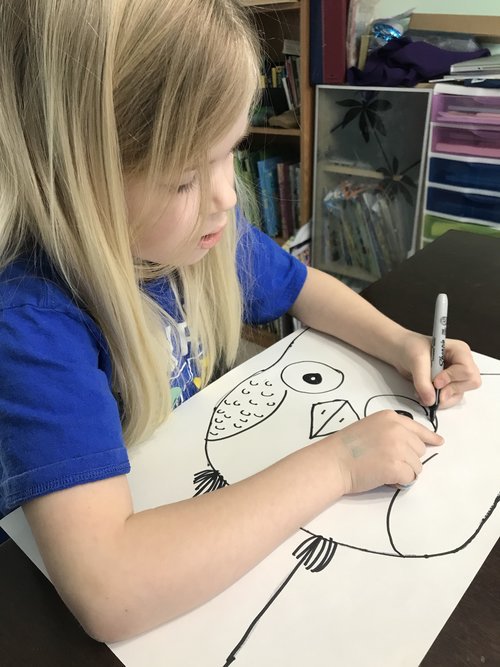
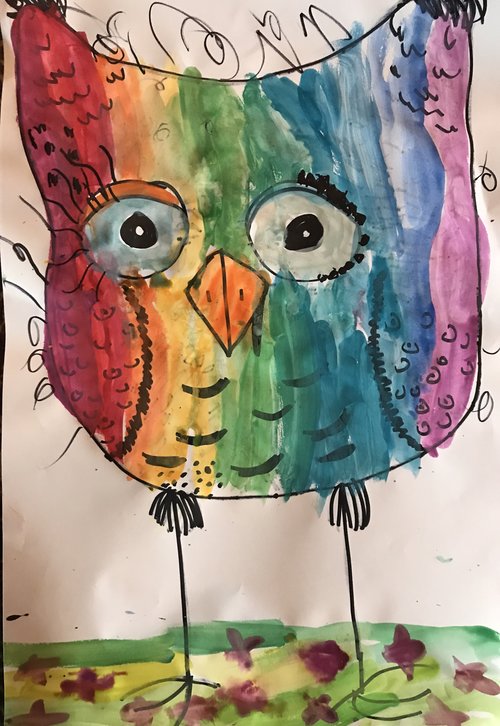
Choose different types of eyelashes for each eye. Wavy lines or little circles make fun quirky additions.
Now the fun part: tell kids that they can use a wiggly, scribbly line to give their owl a bad hair day. Typically we tell kids not to scribble. This time they get to use that Sharpie and let it go this way and that, to get those feathers out of place.
Rainbow Owls Rock
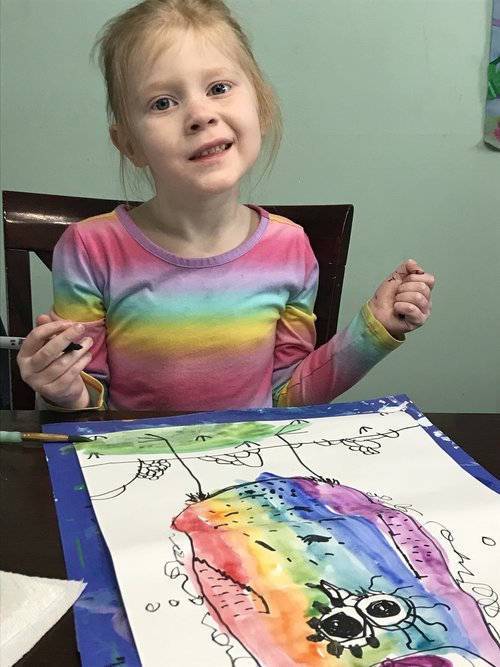
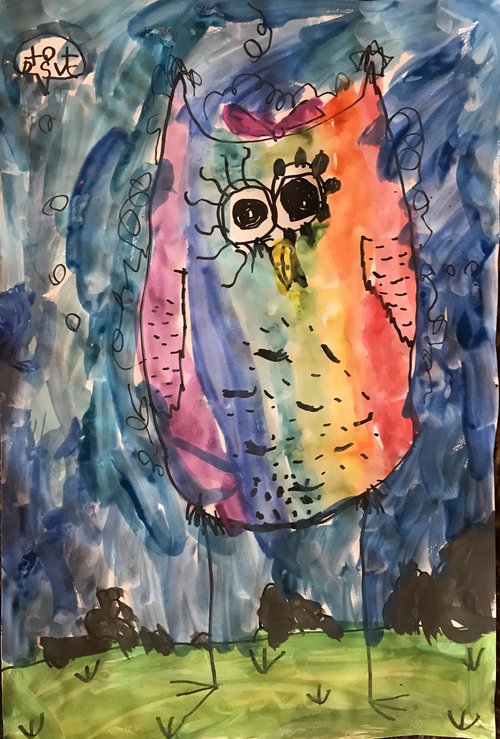
Use cake tempera or watercolors to paint your owl.
Choose one color of the rainbow and start at the top. Paint a thicker stripe from the top of the owl to the bottom, being careful to not paint the inside of the owl’s eyes or the inside of the beak. Paint the beak and the eyes whatever color the child chooses.
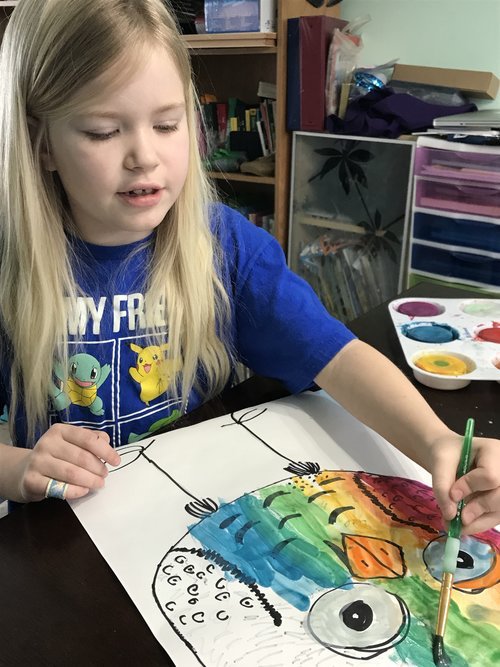
Repeat with the other colors of the rainbow.
Add grass under the owl’s feet and decorate with flowers or rocks. If desired, kids can paint the background.
Hopefully this rainbow owl art project with a bad hair day will bring a quirky little smile to your face too.
We would love it if you’d share!
Don’t forget to tag us at @soulsparklettes on social media if you make this owl art project with your kids or students – we love to see what you create!
Join one of our Memberships!
This is an example of the fun we have inside the Glitterbombers Memberships. Chose the level right for your students – Glitterbombers (K-7th) or the new Glitterbombers HIGH (7th-12th). With either choice, you’ll have hundreds more art projects, videos, and resources at your fingertips for whatever you’re studying, or whatever art concept you’re ready to teach. Click here to join our waitlist and find out when we open next!
For more fun free art projects, try this one:
