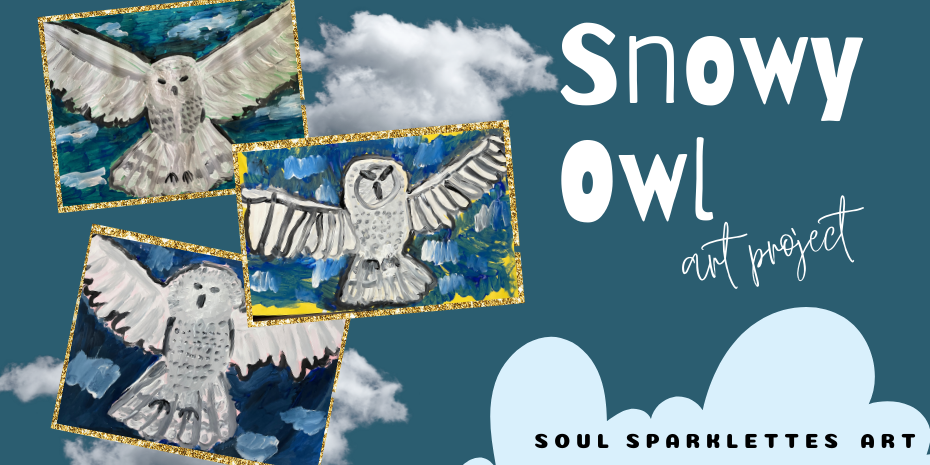
There is no greater hilarity than telling a child that they can’t – gasp – rinse their paintbrush. And that’s exactly what kids will learn in this Snowy Owl Art Project – that rinsing a paintbrush isn’t always necessary.
Although it may look complicated, teaching this project is much simpler than it appears – basic shapes and brush strokes are used to create the body and the feathers and then a dirty brush and some blue or violet is used to paint the background, making that snowy owl pop.
Don’t use white paper
This is one of those times where using white paper is going to make things more difficult. So grab any color of sulphite or mixed-media paper, 9×12 or 12×18. These owls can also be painted on painted paper!
Next, you’ll need liquid tempera: white, black, and a background color (I suggest blue or violet for the sky).
Aim for “not perfect”
Sometimes when children do art, they can easily become fixated on a line that isn’t “perfect,” believing that this line ruins their entire piece. In this project, there’s no drawing before painting. And paint lines can be messy, which is exactly what we want.
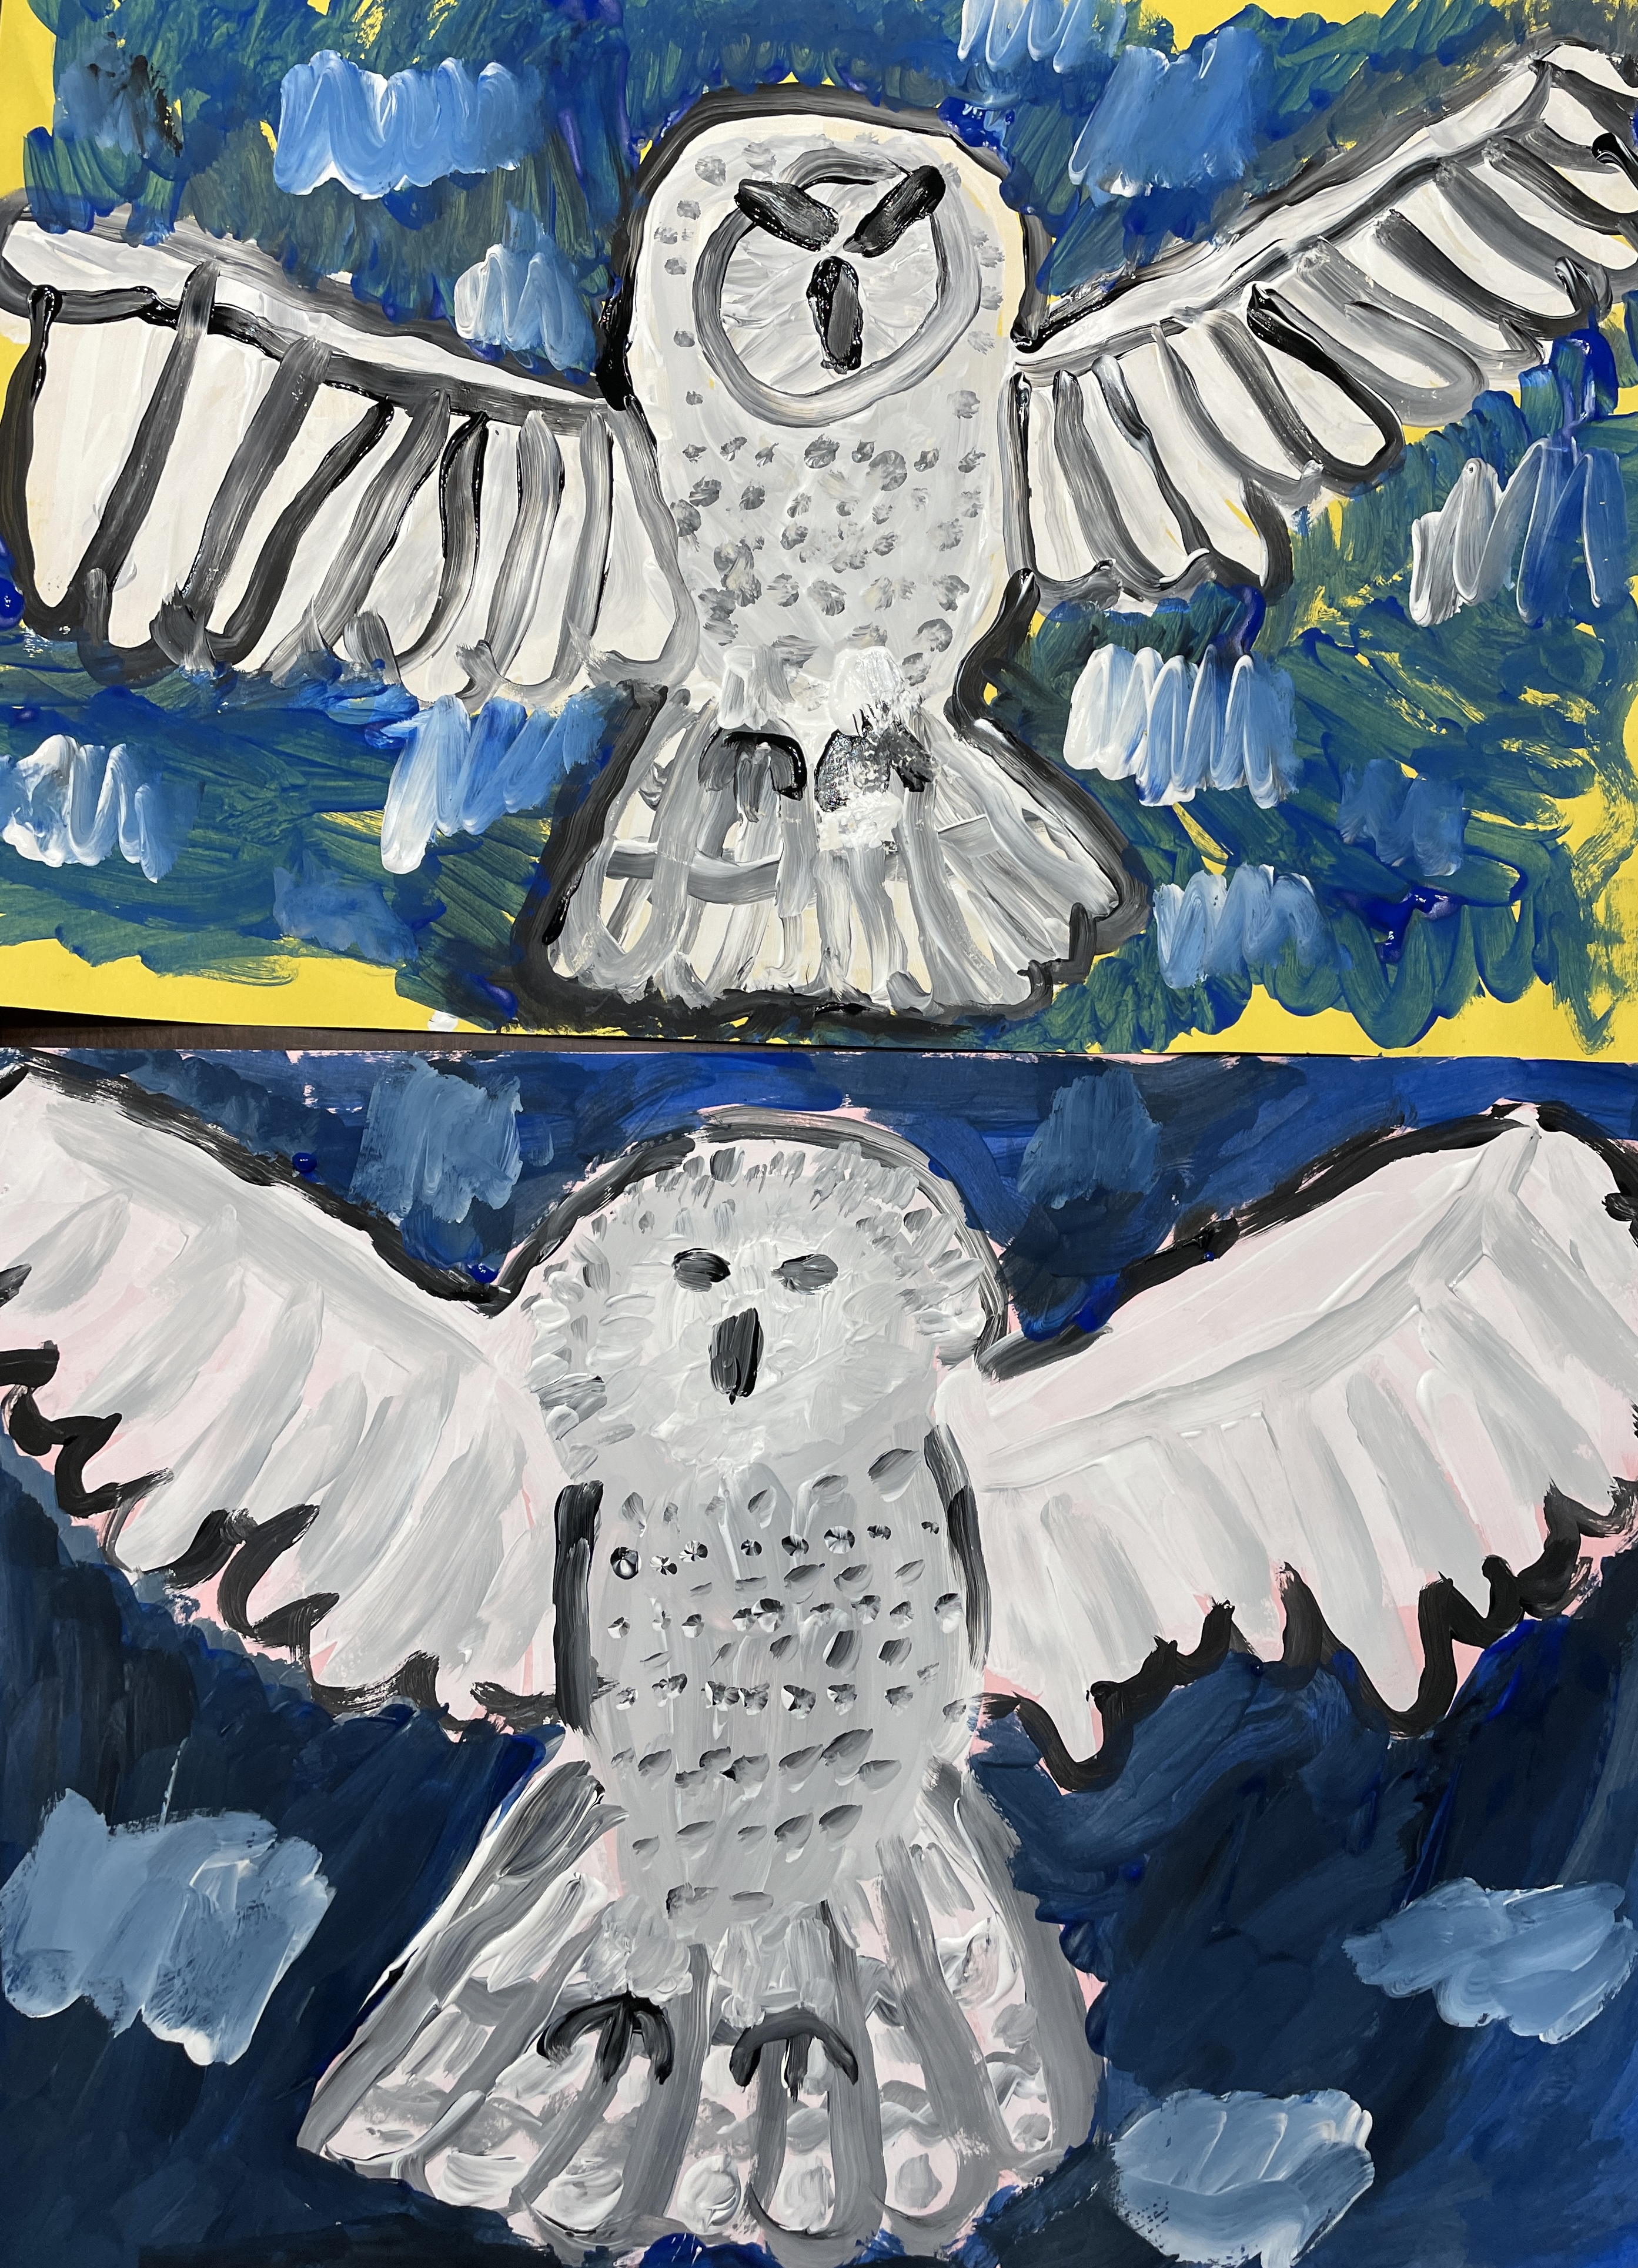
Before beginning, talking about how snowy owls come in different sizes, and their colorations are unique. They might have lost a feather, or have one that’s darker than others. They might be bigger and fatter with dark gray, or tinier with lighter gray. Let them wonder about the unique look of their owl.
Outline the body first
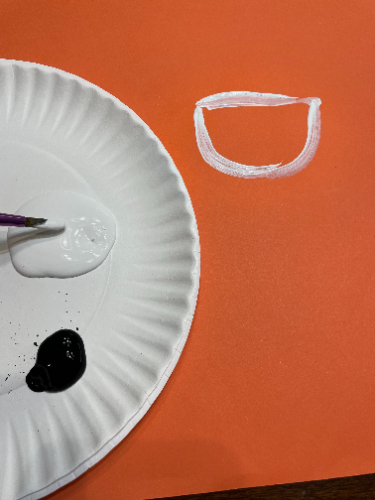
Have white and black paint ready, either in separate paint wells or on a paper plate.
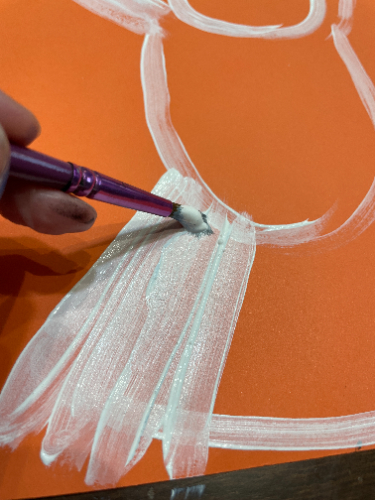
Begin with a short, horizontal line, and a U-shape underneath. This is the face of the owl.
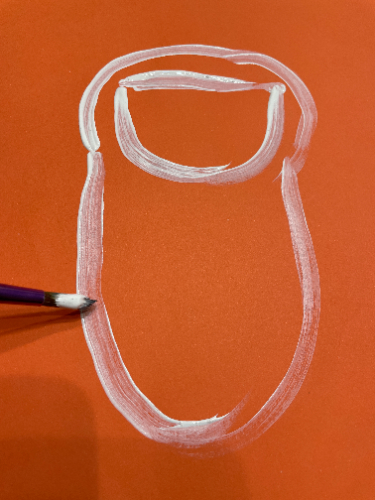
Draw a rainbow line over the top of the head. Create the body by painting a long U-shape attached to the head (not the face).
Layer the feathers with different brush strokes
Next up is the tail feathers. To make it easier for younger students, paint two lines from the bottom of the body, attach them with a smile line, and use this area as the guide for where the tail feathers will be placed.
Use white paint and starting at the body, paint a line down and back up to the body for each feather. This makes the tail-feathers a little thicker.
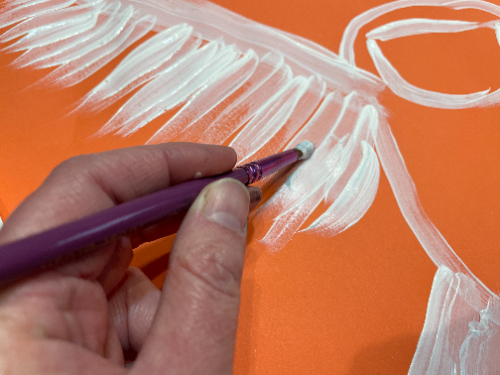
To create the wings, paint a line out to the upper left corner and one to the upper right, beginning at the body, just to the sides of the face.
Underneath each line, paint a row of feathers beginning at the line, going downward, and lifting the paintbrush off of the paper to create uneven brush strokes. When the first row is finished, paint a second row starting halfway in the middle of the first row of feathers. Some of the paper will show through the paint, and this is exactly what you are going for.
Paint the face white.
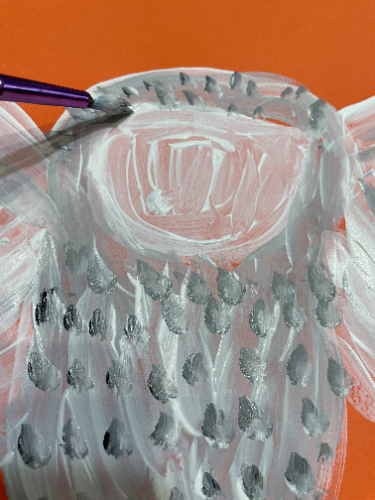
Time to add in the black
Dip the paintbrush in white, and then dip it lightly in the black so that the black barely covers the tip. Use this color to paint the body and the head, leaving the face alone.
Use this color to add light gray feathers over the wing-feathers to add some shadow.
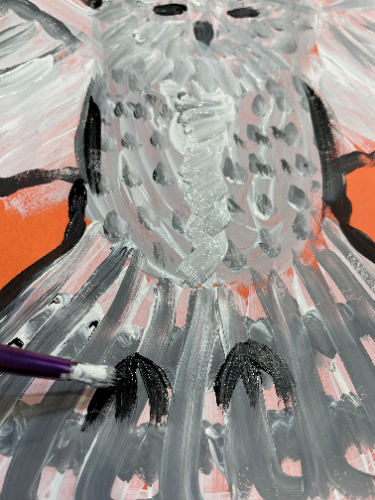
Dip the paintbrush in white and a little bit of black and use the paintbrush to scribble over the tail feathers in two horizontal stripes. Use this same color to outline each tail feather.
Get a lot of white on the brush, and paint a stripe on the owl’s chest in the middle. Use this gray to paint short strokes around the head, like you are painting circular rows of flower petals. This is to give the appearance of fluff.
Finally, grab the black and paint two short horizontal or diagonal lines for eyes, and a small, upside-down triangular beak. Paint feet in the middle of the tail.
Use the black to outline the contour, or outside lines, of the owl.
Finally, grab some white on the brush and use it to add some gray legs, connecting the feet to the body.
Night sky? Or Daytime?
Snow owls are diurnal – they’re one of the only owls in the world that is awake during the day. By this point your brush is dirty.
Dip the brush in blue or violet and paint an outline around the owl. If the color touches the black, it’s okay – kids are going for a darker blue/violet shadow around the owl. Keep dipping the paintbrush in the blue or violet and painting around the owl. Once there’s an outline around the owl, continue to paint the background. Sometimes the owl comes alive more if the entire paper isn’t painted, but the background has a messy, half-finished appearance.
Dip the paintbrush in white and paint some clouds over the sky.
Voila! This snowy owl art project is finished!

Snowy Owl Art Project – on Video!
You can watch a replay of the Snowy Owl Project on Facebook Live, right here.
We would love it if you’d share!
Don’t forget to tag us at @soulsparklettes on social media if you do an owl art project with your kids or students – we love to see what you create!
Join one of our Memberships!
This is an example of the fun we have inside the Glitterbombers Memberships. Chose the level right for your students – Glitterbombers (K-7th) or the new Glitterbombers HIGH (7th-12th). With either choice, you’ll have hundreds more art projects, videos, and resources at your fingertips for whatever you’re studying, or whatever art concept you’re ready to teach. Head here to hop on the waitlist and find out when we open next!