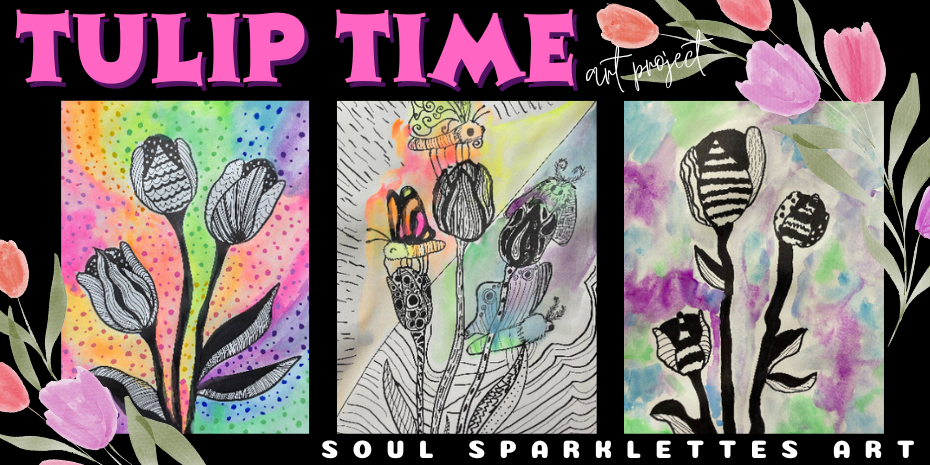
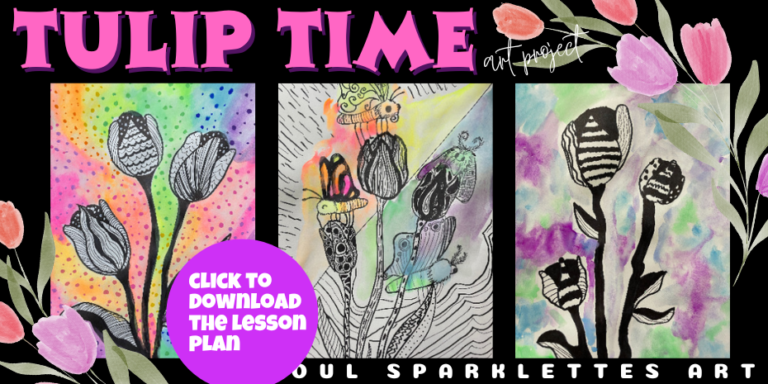
This Tulip Art Project is a showstopper
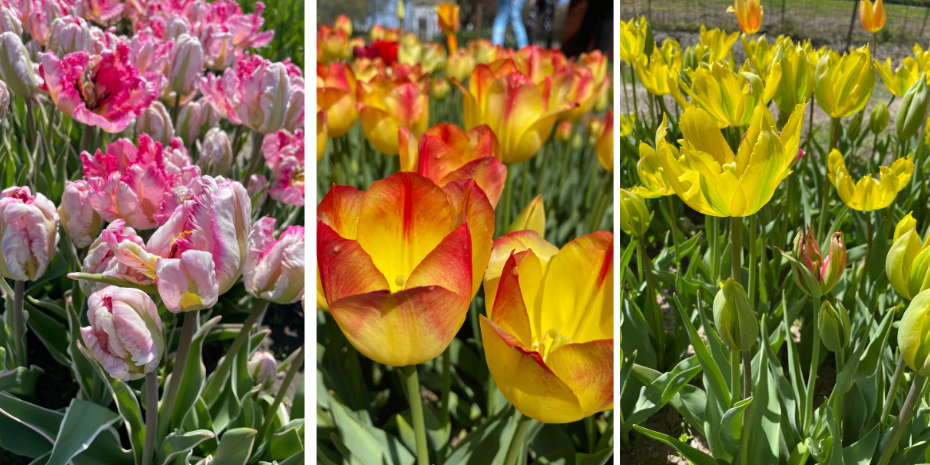
When the tulips are blooming in Holland, thousands flock to see them. And I’m talking about Holland, Michigan, just a short hour and some away from here. With over 3000 varieties of tulips, their colors steal the show. But what if an art project switched things around where the tulips were black and white, and the background had a part in the showstopping color? Enter the Tulip Time art project.
The inspiration for this project comes from Spanish artist Noemi Ibarz, whose Etsy shop and Instagram profile are awash with gorgeous color and zentangle contrast. She specializes in abstracts and florals, and is absolutely worth a follow (and a purchase for your walls!).
Let’s get into the how to create this project – for any age. One thing that this tulip art project does beautifully is take into account those wobbly hands. No need for perfect straight lines here. These lines have movement (and imperfection).
Scroll all the way down and click the banner to download the FREE PDF.
What you'll need for this tulip art project:
- 9×12 white mixed-media / sulphite paper
- Black Sharpies or permanent markers in multiple thicknesses
- Watercolors (neon or regular)
- Paintbrush and cup of water
- Acrylic paint pens
Tulip Time Instructions
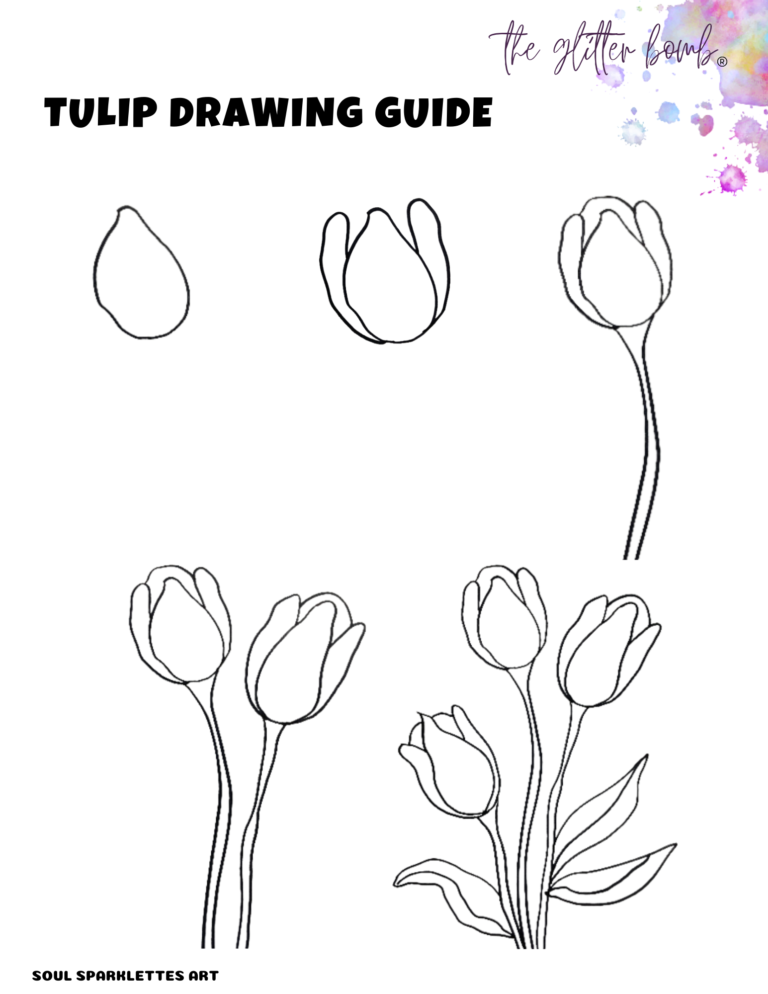
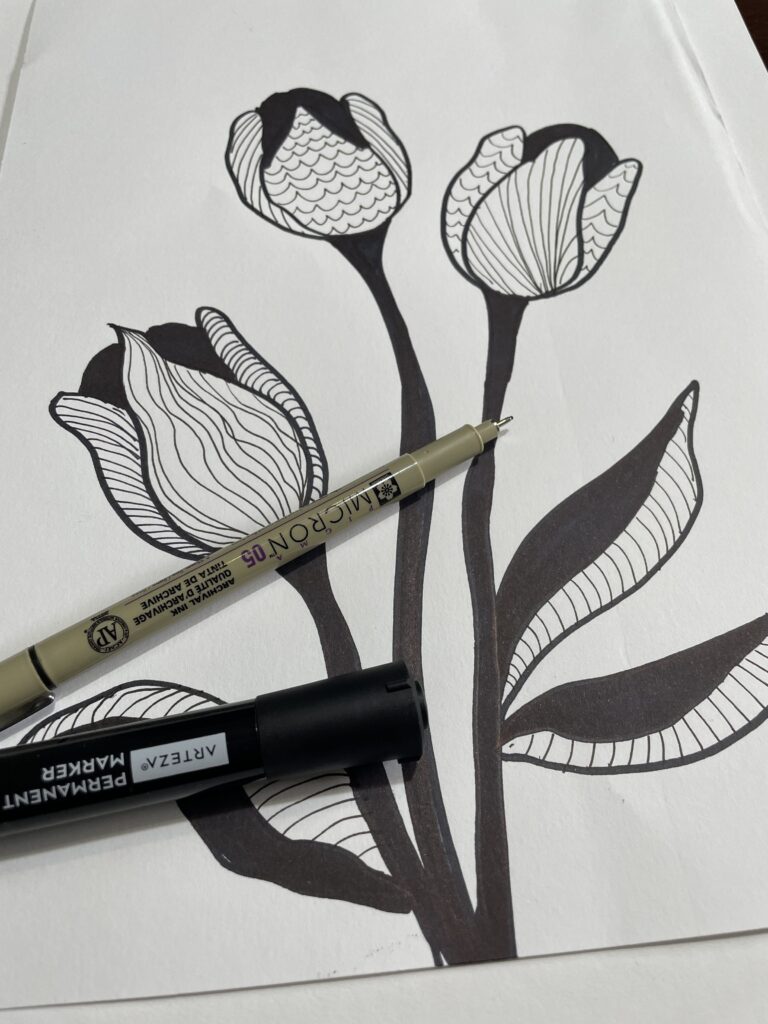
- Start with a teardrop shape about a finger length tall near the top of the page. Draw two finger like shapes, one on each side of the teardrop, connecting them at the very bottom (and not to the sides). Draw a rainbow line connecting the finger-like shapes to form the full tulip.
- Draw a stem leading down and off the page, making the line curve slightly. Draw a parallel line for the other side of the stem but keep the lines farther apart near the bottom of the tulip.
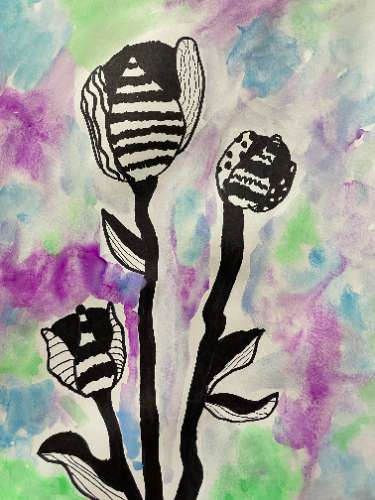
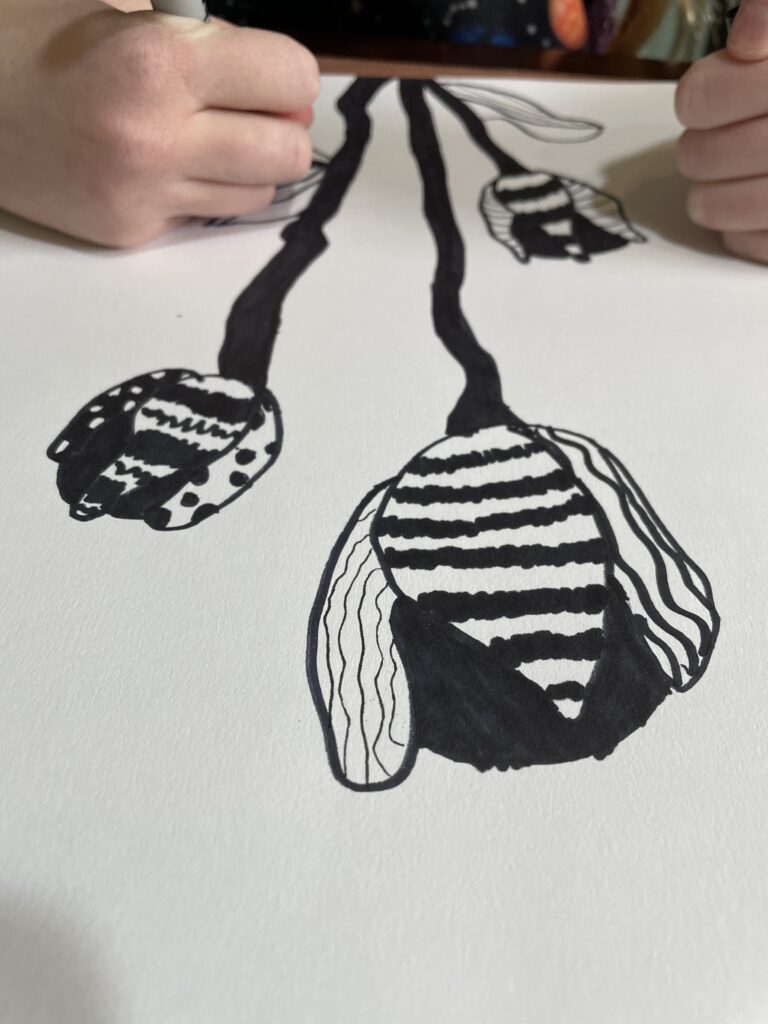
- Color the stems, space at the top of each tulip, and one side of each leaf black.
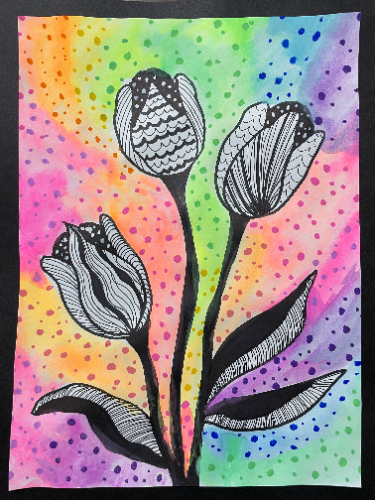
- Using a thinner Sharpie or permanent marker (like a Micron pen), add a design to each tulip petal in the middle. Keep the lines moving and curving. Do the same for the non-black part of the leaf.
- Choose stripes or a different pattern for the side petals, keeping the lines similar for both sides of each tulip (if using stripes, you can change direction on the other side, but still use stripes).
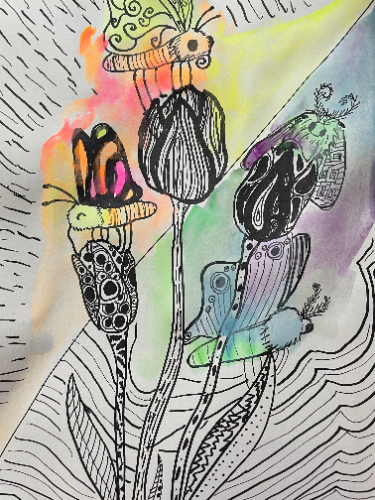
- If you want to add something else to the background like moths or butterflies (see my 6th grader’s sample below!), now’s the time! My youngest also suggests ladybugs and bumblebees.
Now add that color!
- Use neons or bright colors to paint the background. When choosing colors, create color splotches that look more unintentional instead of painting the background to look like stripes. Set aside to dry.
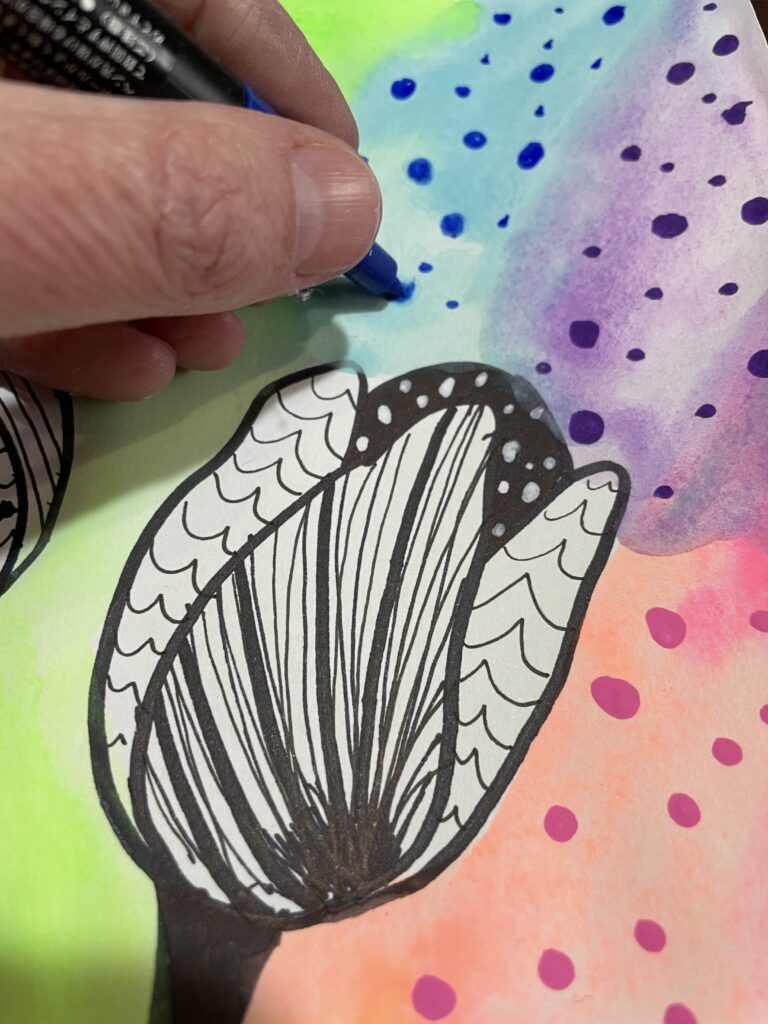
- When dry, use a white paint marker (or gel pen) to add white spots to the top portions of the tulips.
- Use paint markers in a color slightly darker than the painted color (or analogous) to create dots. Vary the size of the dots from circles to just barely touching the tip down.
I hope you enjoy creating these as much as we did, especially with the 3rd and 6th graders being equally successful!
Click the banner below to download the FREE step-by-step pdf with the lesson plan.
We would love it if you’d share!
Don’t forget to tag us at @soulsparklettes on social media if you make this Tulip Time art project with your kids or students – we love to see what you create!
Join the Glitterbombers Membership!
This is only one of the many diverse art lessons in the Glitterbombers Membership. Hundreds more art projects, videos, and resources at your fingertips for whatever you’re studying, or whatever art concept you’re ready to teach. Head here to hop on the waitlist and find out when we open next!
